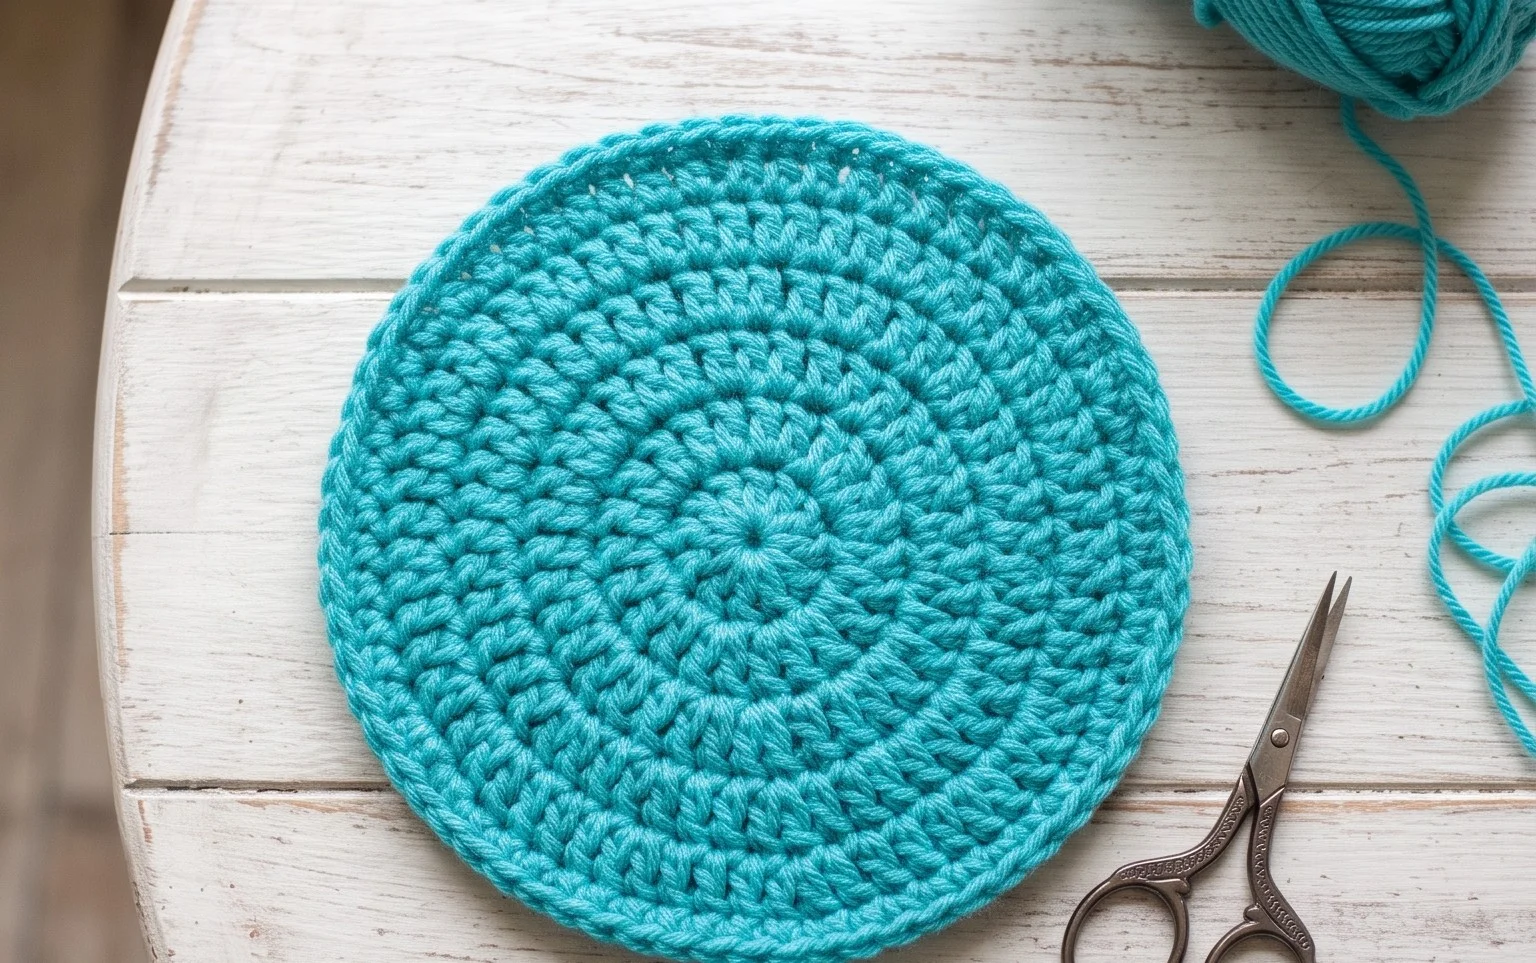
Easy Granny Square Free Pattern for Fall Crochet Projects
Crisp autumn mornings call for a warm hook and a pile of soft, scrap yarn waiting to be turned into cozy home accessories. These traditional crochet squares have a sturdy, textured feel that holds up well for heavy-duty potholders or thick blankets for your living room couch. Beginners often find the rhythmic repetition of double crochet stitches satisfying, as each round reveals a new frame of color. You will learn to manage your tension and navigate corners without complicated counting. Whether you are building a stash of squares for a gift or settling in for a quiet evening, this simple square provides a grounding start to your seasonal making.
Why You Will Love This Pattern
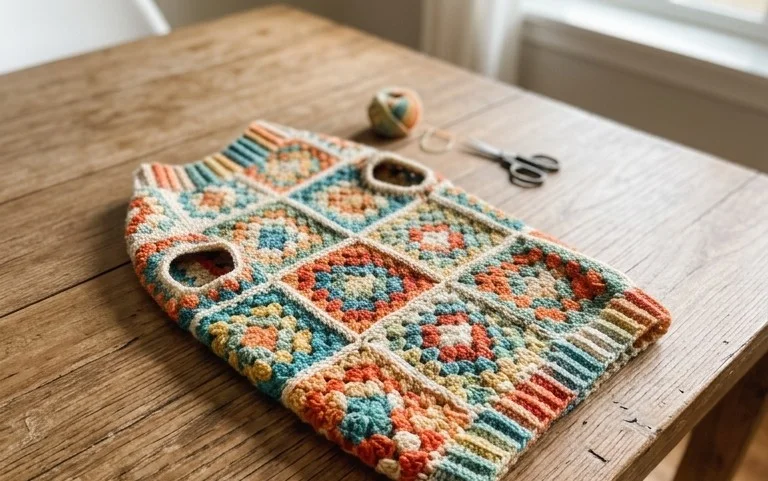
The Classic Crochet Granny Square is the fundamental building block for countless heritage-style blankets, tote bags, and cardigans. This pattern relies on simple clusters of double crochet stitches worked into chain spaces, creating a rhythmic, meditative motion that makes it easy to memorize within a few rounds. Because it starts from a central point and grows outward, you can easily stop at any size to create coasters, potholders, or full-sized afghans. It is an excellent way to use up small bits of leftover yarn from previous projects, as each round can be worked in a different color to create a playful scrap-yarn aesthetic.
This is the most reliable pattern I have found for teaching beginners how to maintain consistent tension while learning to work in the round without the stress of complex increases.
— Sarah, hobbyist maker
Pattern Overview & Skill Level
- Skill Level: Beginner
- Approximate Time: 30 to 45 minutes per square
- Construction: Worked in joined rounds, starting from the center and expanding outward with corner chain spaces
- Finished Dimensions & Sizing: Approximately 6 inches by 6 inches when using worsted weight yarn and a 5.0 mm hook
Materials & Supplies Needed
- Yarn: Worsted weight (#4) acrylic or cotton blend, approximately 20 yards per square.
- Hook Size: 5.0 mm (US H-8).
- Notions: Tapestry needle for weaving in ends, sharp scissors.
- Safe yarn substitutions: You may use DK weight (#3) yarn with a 4.0 mm hook for a smaller, tighter square, or bulky weight (#5) yarn with a 6.0 mm hook for a larger, quicker square. Note that changing weight will significantly alter the final dimensions and drape.
Stitch Guide & Abbreviations (US Terms)
- ch = chain
- sl st = slip stitch
- dc = double crochet
- dc-cluster = 3 dc worked into the same space
- sp = space
- MR = magic ring
- st/sts = stitch/stitches
Step-by-Step Pattern Instructions
Center and Foundation
- Rnd 1: Start with a MR. Ch 3 (counts as first dc here and throughout), 2 dc into the ring. Ch 2, 3 dc into the ring. Ch 2, 3 dc into the ring. Ch 2, 3 dc into the ring. Ch 2, sl st to the top of the initial ch-3 to join. (12 dc, 4 ch-2 spaces)
Developing the Rounds
- Rnd 2: Sl st into the next two sts and into the first ch-2 corner sp. Ch 3, 2 dc, ch 2, 3 dc all in the same corner sp. Ch 1, (3 dc, ch 2, 3 dc) in the next ch-2 corner sp. Repeat from * to * two more times. Ch 1, sl st to the top of the initial ch-3. (24 dc, 4 ch-2 spaces, 4 ch-1 spaces)
- Rnd 3: Sl st into the next two sts and into the corner sp. Ch 3, 2 dc, ch 2, 3 dc in the corner sp. Ch 1, 3 dc in the next ch-1 side sp. Ch 1, (3 dc, ch 2, 3 dc) in the next corner sp. Ch 1, 3 dc in the next side sp. Ch 1. Repeat from * to * two more times. Sl st to the top of the initial ch-3. (36 dc)
- Rnd 4: Work as established, placing (3 dc, ch 2, 3 dc) in each corner and (3 dc) in each ch-1 side space, separated by ch-1. Continue to increase rounds until the square reaches your desired size. (48 dc)
Finishing
Once you reach the desired size, fasten off leaving a 6-inch tail. Use a tapestry needle to weave the yarn tail through the back loops of the final round to secure it. If making multiple squares, block them by pinning them flat and spraying lightly with water to ensure they are all uniform in size before sewing them together.
Care & Washing Instructions
- Machine wash on a gentle cycle in cold water using a mild detergent.
- Lay the item flat on a clean towel to air dry, reshaping it while damp to ensure the corners remain sharp.
- Avoid bleach or high-heat drying, which can cause synthetic fibers to lose their structure or melt.
Pro Tips & Common Mistakes to Avoid
- Maintain consistent tension by ensuring your dc-clusters are pulled tight; if the chain spaces look too loose, drop down a hook size.
- Always place a stitch marker in the top of your starting ch-3 of each round so you know exactly where to join with your slip stitch.
- Weave your ends in by threading them through the base of the stitches on the wrong side for at least one inch to prevent them from unraveling after repeated washing.
- Adjusting the size is simple; for every additional round you work, you will add one extra ch-1 space and one extra 3-dc cluster along each side of the square.
Frequently Asked Questions
Can I use a different weight of yarn for this pattern?
Yes, you can use any yarn weight. Just ensure you pair your yarn with the appropriate hook size as recommended on the yarn label. Keep in mind that thinner yarn results in a smaller square, while thicker yarn results in a larger one.
Is this project suitable for a complete beginner?
This is a foundational project for beginners because it uses only basic stitches and helps you practice working into chain spaces rather than individual stitch loops, which is often easier for newcomers.
How do I join these squares together?
You can join squares using a mattress stitch for an invisible seam or a single crochet join for a decorative, raised ridge effect. Both methods provide a sturdy connection for blankets or bags.
Can I sell the items I make from this pattern?
You are welcome to sell finished products made from this pattern, provided you credit the design. Always check the specific terms of use provided by your yarn brand or source if you are using a branded tutorial.
Your finished square will bring a handmade warmth to your home that store-bought items simply cannot replicate. Try working your next piece in muted forest greens or deep mustard tones to lean into the seasonal shift, or join several together to create a throw for your bed. Take a moment to share a picture of your finished project on your favorite social media platform so we can see how your color choices turned out. Browse the rest of the blog for more free patterns to fill your afternoon. Happy hooking!