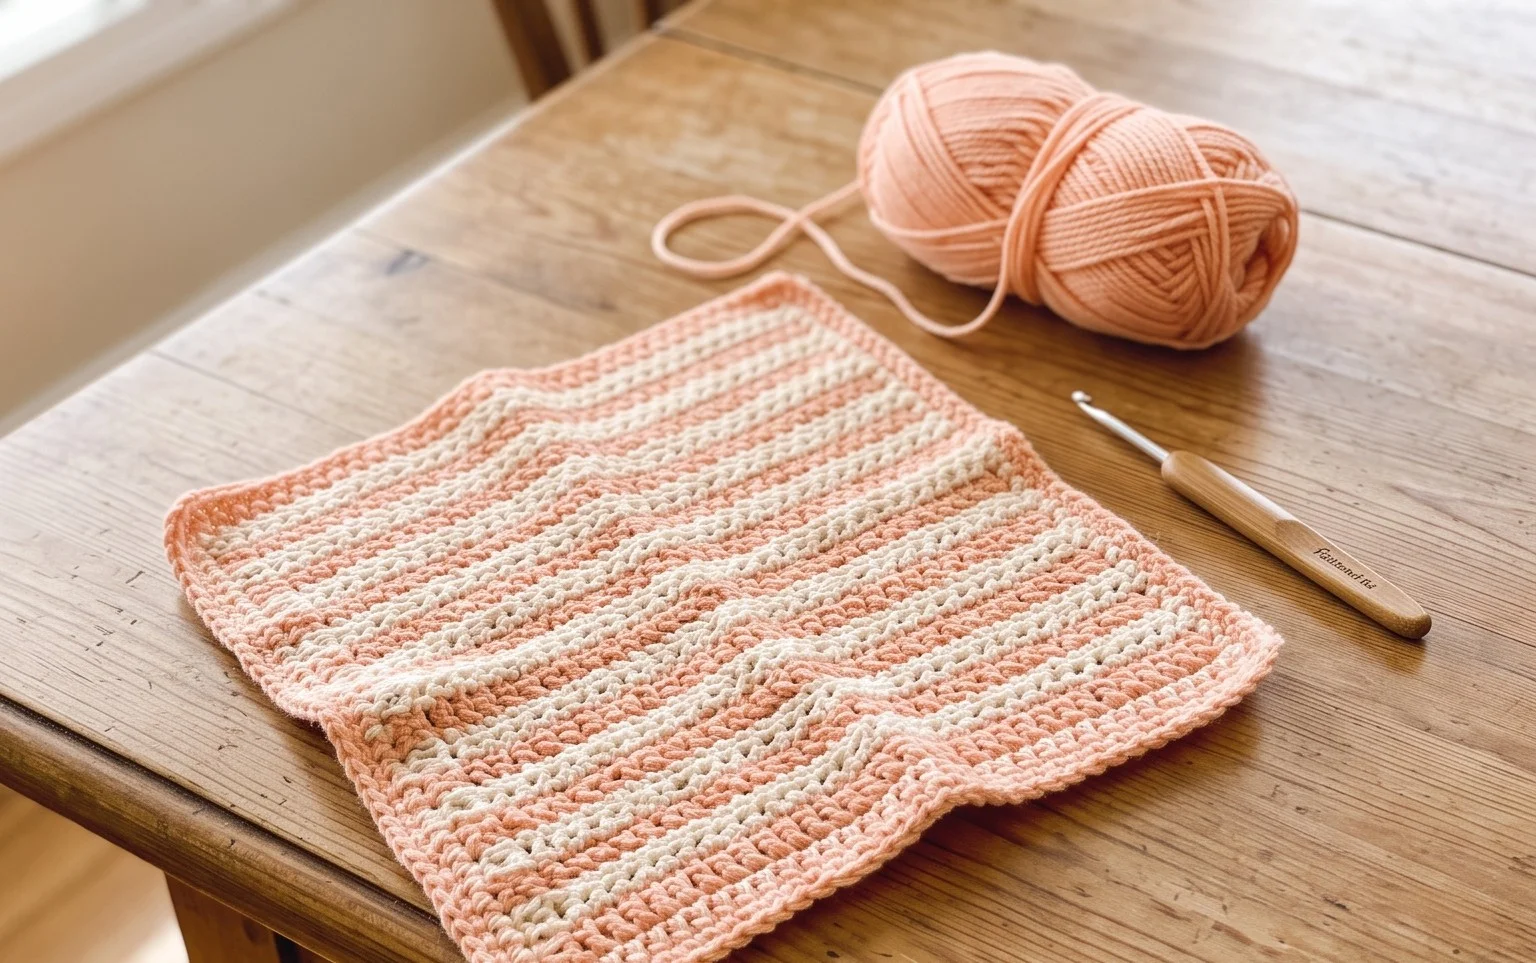
Interlaced Braided Crochet Stitch: Easy Free Pattern
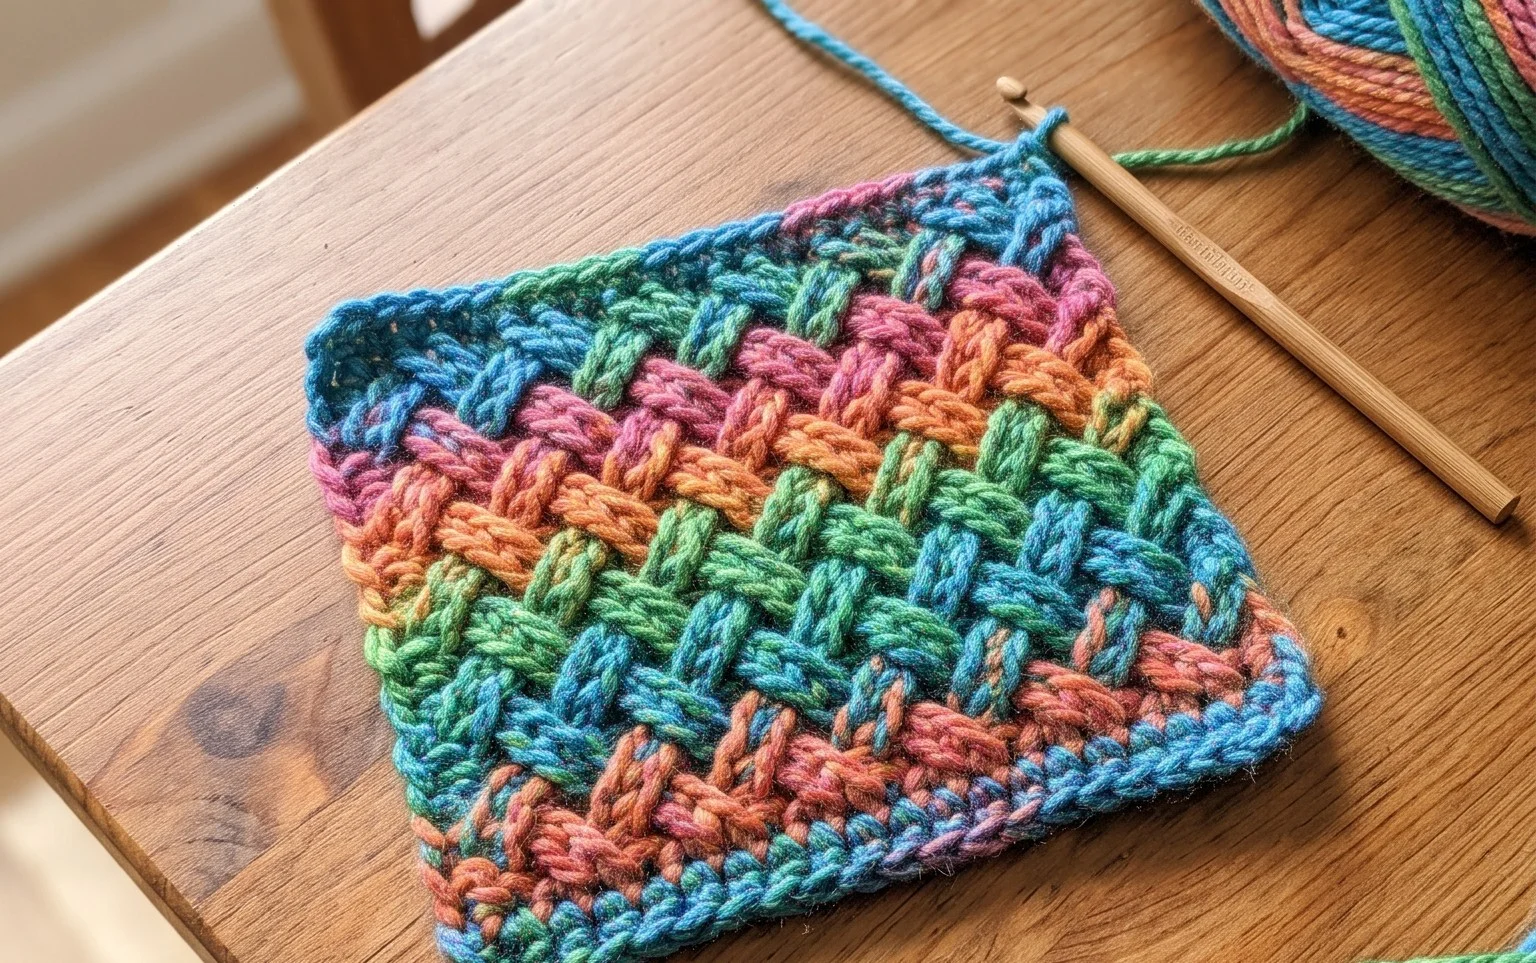
The Interlaced Braided Crochet Stitch creates a thick, squishy fabric that feels like woven rope beneath your fingers. This dense texture makes it an excellent choice for anyone crafting sturdy home accessories like baskets or heavy-duty market bags. You will find that the rhythm of the loops creates a satisfying tactile experience as you work, turning simple worsted cotton into something that looks like it belongs in a high-end boutique. This tutorial guides you through the process of crossing stitches to achieve that iconic braid, giving your handmade items a refined and durable finish.
Why This Project Is Worth Making
This simple crochet drawstring pouch uses basic single crochet stitches worked in a continuous spiral, making it a meditative project for evenings on the sofa. Because it relies on a repetitive stitch pattern, it is an ideal way to practice maintaining consistent tension. You can finish the entire bag in a single weekend, and the adjustable drawstring closure keeps small items like stitch markers, coins, or charging cables secure. The dense fabric created by the single crochet stitch prevents small items from slipping through, while the medium-weight yarn ensures the structure is sturdy enough to hold its shape over time.
I managed to whip up three of these for holiday gifts in a single Saturday. The pattern is easy to memorize and the end result looks very professional.
— Sarah, hobbyist crocheter
Pattern Overview & Skill Level
- Skill Level: Beginner
- Approximate Time: 3 to 5 hours
- Construction: Worked in continuous rounds from the base upward, finished with a double-stranded chain drawstring
- Finished Dimensions & Sizing: 6 inches wide by 7 inches tall when laid flat
Materials & Supplies Needed
- Yarn: Worsted weight (#4) cotton yarn, approximately 150 yards. Cotton provides a non-stretch structure that is ideal for bags.
- Hook Size: 5.0 mm (US H-8) crochet hook.
- Notions: Tapestry needle for weaving in ends, locking stitch marker for tracking the start of rounds, and scissors.
- Yarn Substitutions: You can use acrylic worsted weight yarn for a softer feel, though it may stretch more under weight. Wool yarn is also suitable but will require hand-washing.
Stitch Guide & Abbreviations (US Terms)
- ch = chain
- sc = single crochet
- inc = increase (work 2 sc into the same stitch)
- sl st = slip stitch
- st/sts = stitch/stitches
- MR = magic ring (or ch 2 and work into the second chain from hook)
Construction Notes
Work in continuous rounds rather than joining with a slip stitch. Place a stitch marker at the first stitch of every round to keep track of your position.
Step-by-Step Pattern Instructions
Pouch Base and Body
- Rnd 1: Start with a MR, work 6 sc into the ring. (6 sts)
- Rnd 2: Work 2 sc in each st around. (12 sts)
- Rnd 3: [1 sc, inc] repeat 6 times. (18 sts)
- Rnd 4: [2 sc, inc] repeat 6 times. (24 sts)
- Rnd 5: [3 sc, inc] repeat 6 times. (30 sts)
- Rnd 6: [4 sc, inc] repeat 6 times. (36 sts)
- Rnd 7: [5 sc, inc] repeat 6 times. (42 sts)
- Rnd 8: [6 sc, inc] repeat 6 times. (48 sts)
- Rnd 9-30: Work 1 sc in each st around. (48 sts)
- Rnd 31: [6 sc, dec] repeat 6 times. (42 sts)
- Rnd 32: [ch 2, skip 2 sts, 5 sc] repeat 6 times. This creates the eyelet holes for the drawstring. (42 sts)
- Rnd 33: 1 sc in each st and each ch around. (42 sts)
- Rnd 34: Sl st in each st around. Fasten off and weave in ends.
Drawstring
Chain 80 or until the chain reaches approximately 20 inches in length. Fasten off. Weave this chain through the eyelet holes created in Round 32, alternating in and out of the openings. Tie the ends in a simple overhand knot to form a loop.
Care & Washing Instructions
- Hand wash your finished pouch in cool water with a mild detergent to preserve the structure of the cotton fibers.
- Lay the item flat on a towel to air dry, reshaping it while damp to ensure the base remains circular.
- Do not tumble dry, as high heat can shrink cotton yarn and cause the pouch to lose its intended dimensions.
Pro Tips & Common Mistakes to Avoid
- Keep your tension tight. If you find the fabric is too loose, try going down one hook size to 4.5 mm to ensure small items do not poke through.
- Always move your stitch marker up at the start of every round. Losing track of the round start is the most common reason for uneven eyelets.
- Weave in your yarn tails by running the needle through the back loops of the interior stitches to hide the ends securely without creating bulk.
- To adjust the size, add or subtract rounds from the body section (Rounds 9-30). Adding more rounds will require more yarn, so ensure you have an extra skein available if you decide to make the bag taller.
Frequently Asked Questions
Can I use a larger hook for this pattern?
Using a larger hook will result in a larger, looser bag. While it will work, the holes between stitches will be more visible, which may allow small contents to slip out.
Is this pattern suitable for complete beginners?
Yes, this project only uses the single crochet stitch. The biggest challenge for beginners is keeping the stitch count consistent, so be sure to use your stitch marker.
Can I sell items made from this pattern?
Check the specific license agreement included with your pattern purchase. If the pattern is from a personal blog or designer, they usually appreciate credit for the design even if they allow commercial sales.
How do I adjust the drawstring length?
Simply chain more or fewer stitches before fastening off. A longer chain allows for a wider opening, while a shorter chain keeps the bag cinched more tightly.
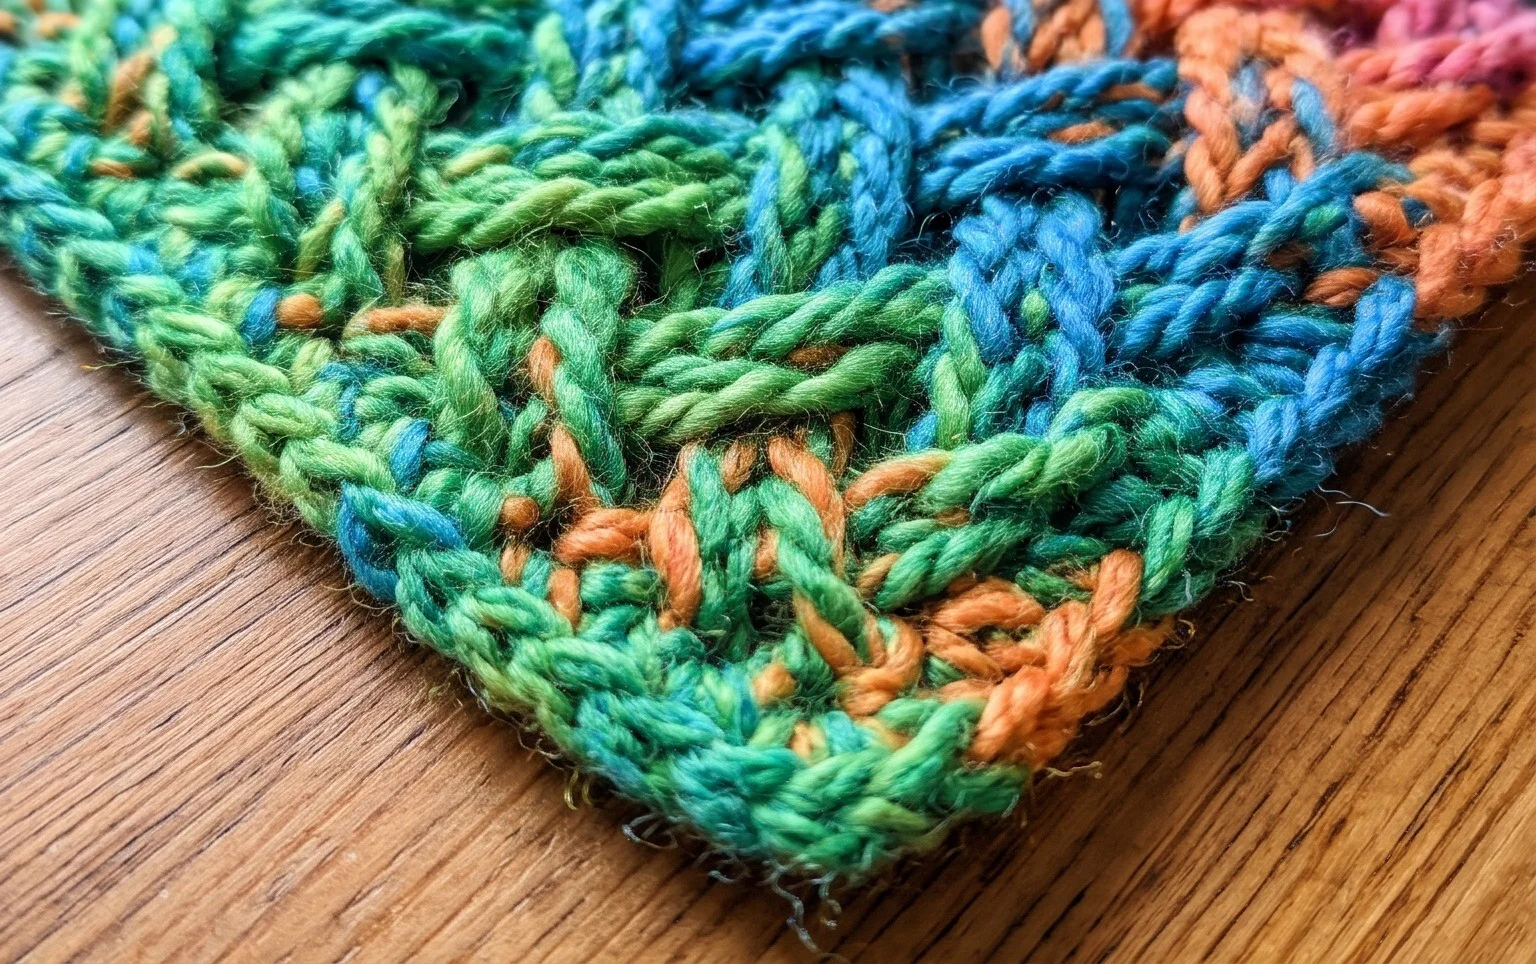
Your finished project showcases the visual depth of this technique, making it a great conversation piece for your coffee table or office desk. You can experiment with using two different colors for the braid to make the pattern pop or increase your hook size to create a looser, more draped effect for a scarf. Posting a photo of your work on Instagram helps others find inspiration for their own yarn stash. Feel free to browse through my archive for more free patterns to practice.