Easy Gingerbread Cup Cozy Free Crochet Pattern
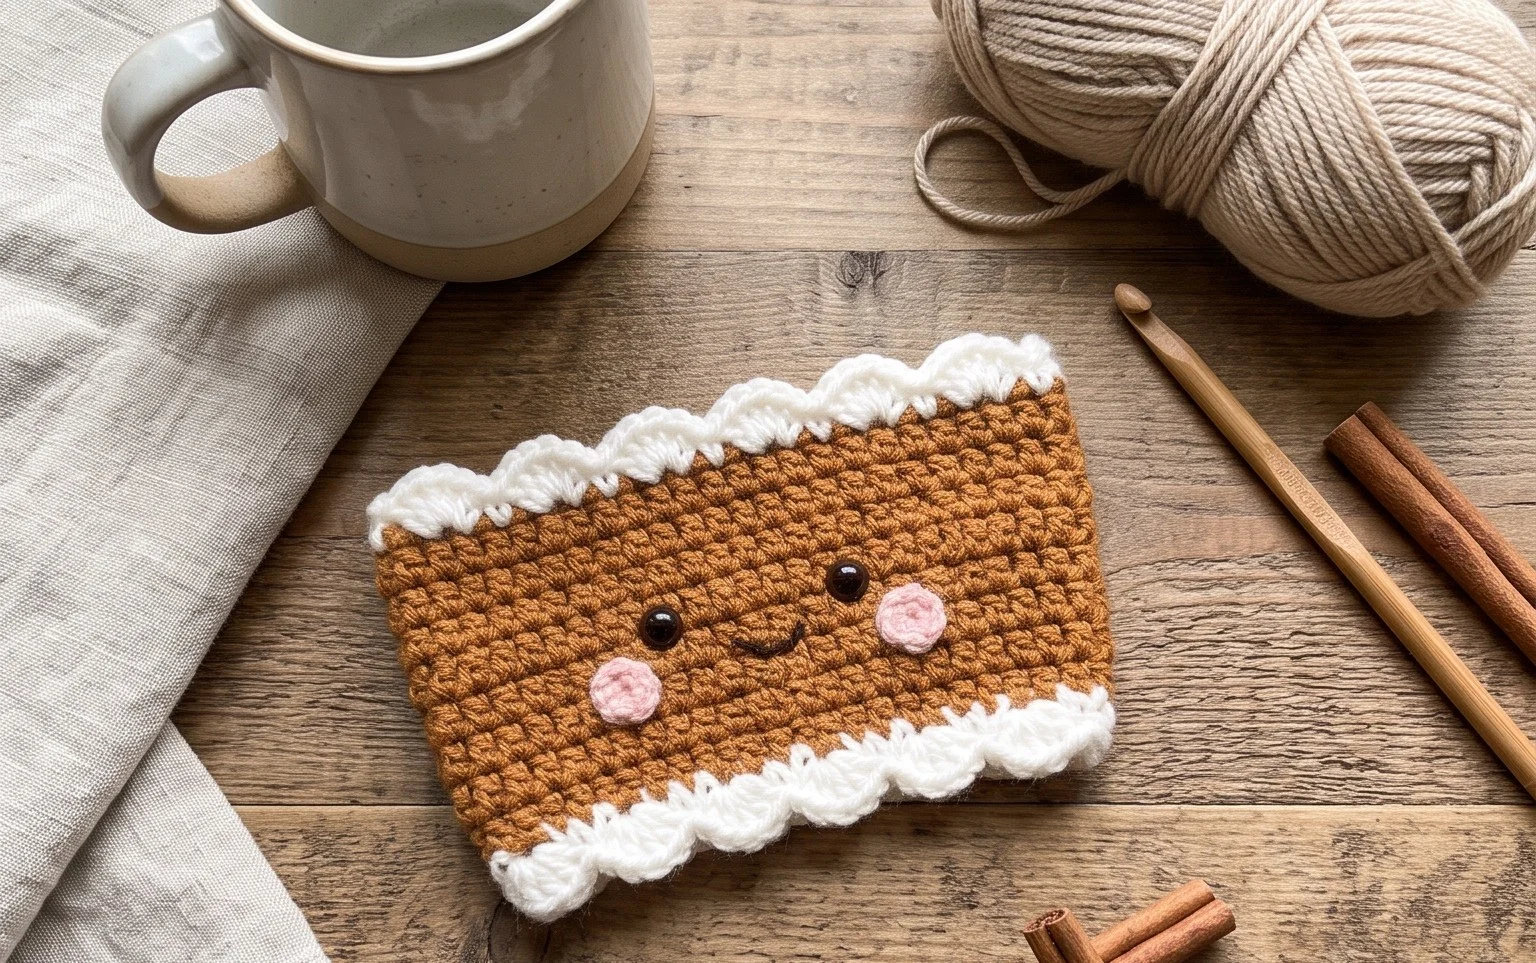
A warm mug feels grounded in the hand when wrapped in this soft, gingerbread-inspired cozy. This project offers a gentle introduction to shaping simple round objects, making it a reliable choice if you are just starting your crochet journey. The dense, single crochet stitches create a thick wall that shields your fingers from the heat of a coffee cup or tea mug. Experienced makers will enjoy the mindless, meditative flow of the continuous rounds. Once you finish the base, you can add small details like white yarn for icing to give it personality before gifting it to a friend.
Why This Project Is Worth Making
This beginner-friendly project works up in under two hours, making it an ideal choice for last-minute gifts or stash-busting. The design uses basic single crochet stitches worked in continuous rounds, providing a meditative, repetitive rhythm that is easy to pick up and put down. Because the structure is small and compact, it requires very little yarn, allowing you to use up small bits of worsted weight leftovers that might otherwise sit in your scrap bin. The final result is a sturdy, functional accessory that holds its shape well even with frequent use.
I managed to finish this over a single weekend while watching television. The instructions were very clear and my finished piece looks exactly like the photos.
— Sarah, hobbyist crocheter
Pattern Overview & Skill Level
- Skill Level: Beginner
- Approximate Time: 1.5 to 2 hours
- Construction: Amigurumi-style continuous rounds with increases and decreases
- Finished Dimensions: 4 inches tall by 3 inches wide
Materials & Supplies Needed
- Yarn: Worsted #4 weight, 100% cotton yarn, approximately 40 yards. Cotton provides the necessary stiffness for structural integrity.
- Hook Size: 4.0 mm (US G-6). This size ensures a tight gauge so that fiberfill does not peek through the stitches.
- Notions: Tapestry needle for weaving in ends, a locking stitch marker to keep track of the start of rounds, and polyester fiberfill for stuffing.
- Yarn Substitutions: Acrylic worsted weight yarn can be used as a substitute, though the final item will be slightly softer and less firm. If using acrylic, consider going down half a hook size to maintain the desired density.
Stitch Guide & Abbreviations (US Terms)
- MR = Magic Ring (a way to start a round by crocheting over an adjustable loop)
- ch = Chain
- sc = Single crochet
- inc = Increase (work 2 sc in the same stitch)
- dec = Decrease (single crochet two stitches together to reduce the stitch count)
- sl st = Slip stitch
- st/sts = Stitch/stitches
Step-by-Step Pattern Instructions
Main Body
- Rnd 1: Start 6 sc in a magic ring. (6 sts)
- Rnd 2: Work 2 sc in each st around. (12 sts)
- Rnd 3: 1 sc, inc 6 times. (18 sts)
- Rnd 4: 2 sc, inc 6 times. (24 sts)
- Rnds 5-10: Sc in each st around. (24 sts)
- Rnd 11: 2 sc, dec 6 times. (18 sts)
At this stage, begin adding the fiberfill. Stuff the piece firmly until it reaches your desired firmness, ensuring the stuffing reaches the bottom curves evenly.
- Rnd 12: 1 sc, dec 6 times. (12 sts)
- Rnd 13: dec 6 times. (6 sts)
Finishing
Cut the yarn leaving a 6-inch tail. Thread the tail onto your tapestry needle and weave it through the front loops of the remaining 6 stitches. Pull the yarn tail tight to cinch the opening closed. Secure the yarn with a knot and bury the remaining end inside the body of the project. Clip any excess yarn close to the surface so the tail disappears into the fiberfill.
Care & Washing Instructions
- Hand wash in cool water using a gentle detergent to prevent the fibers from stretching or warping.
- Lay the piece flat on a clean towel in a shaded area to air dry, ensuring it is reshaped while damp.
- Avoid wringing or twisting the item, as this can permanently distort the amigurumi shape and cause the internal stuffing to bunch up.
Pro Tips & Common Mistakes to Avoid
Keep your tension consistent throughout the piece by holding your yarn with a steady, even grip. Loose tension creates gaps between stitches, which allows the stuffing to show through. Use a locking stitch marker at the very first stitch of every round to avoid losing your place; without a marker, it is easy to accidentally skip a stitch or add an extra one. Weave your ends in by passing the needle through the center of the stuffing rather than across the surface to ensure the tail is invisible. You can adjust the size of the project by adding or subtracting rounds from the body section, but keep in mind that doing so will increase or decrease the total amount of yarn required for the project.
Frequently Asked Questions
Can I use a larger hook size for this pattern?
Using a larger hook will result in a larger finished item with more space between stitches. This will cause your stuffing to be visible through the crochet fabric, so it is recommended to stick to the suggested 4.0 mm hook.
Is this project suitable for a complete beginner?
Yes, this project relies entirely on basic stitches like the single crochet and simple increases and decreases. If you can manage a magic ring and keep track of your stitch counts, you can complete this pattern successfully.
How do I know if I have stuffed the item enough?
The piece should feel firm to the touch and hold its shape without collapsing when pressed. If it feels squishy or loses its form after being squeezed, add a small amount of extra fiberfill.
Am I allowed to sell items made from this pattern?
You are welcome to sell finished items created from this pattern. Always credit the original designer when listing your items for sale on platforms like Etsy or at craft fairs.
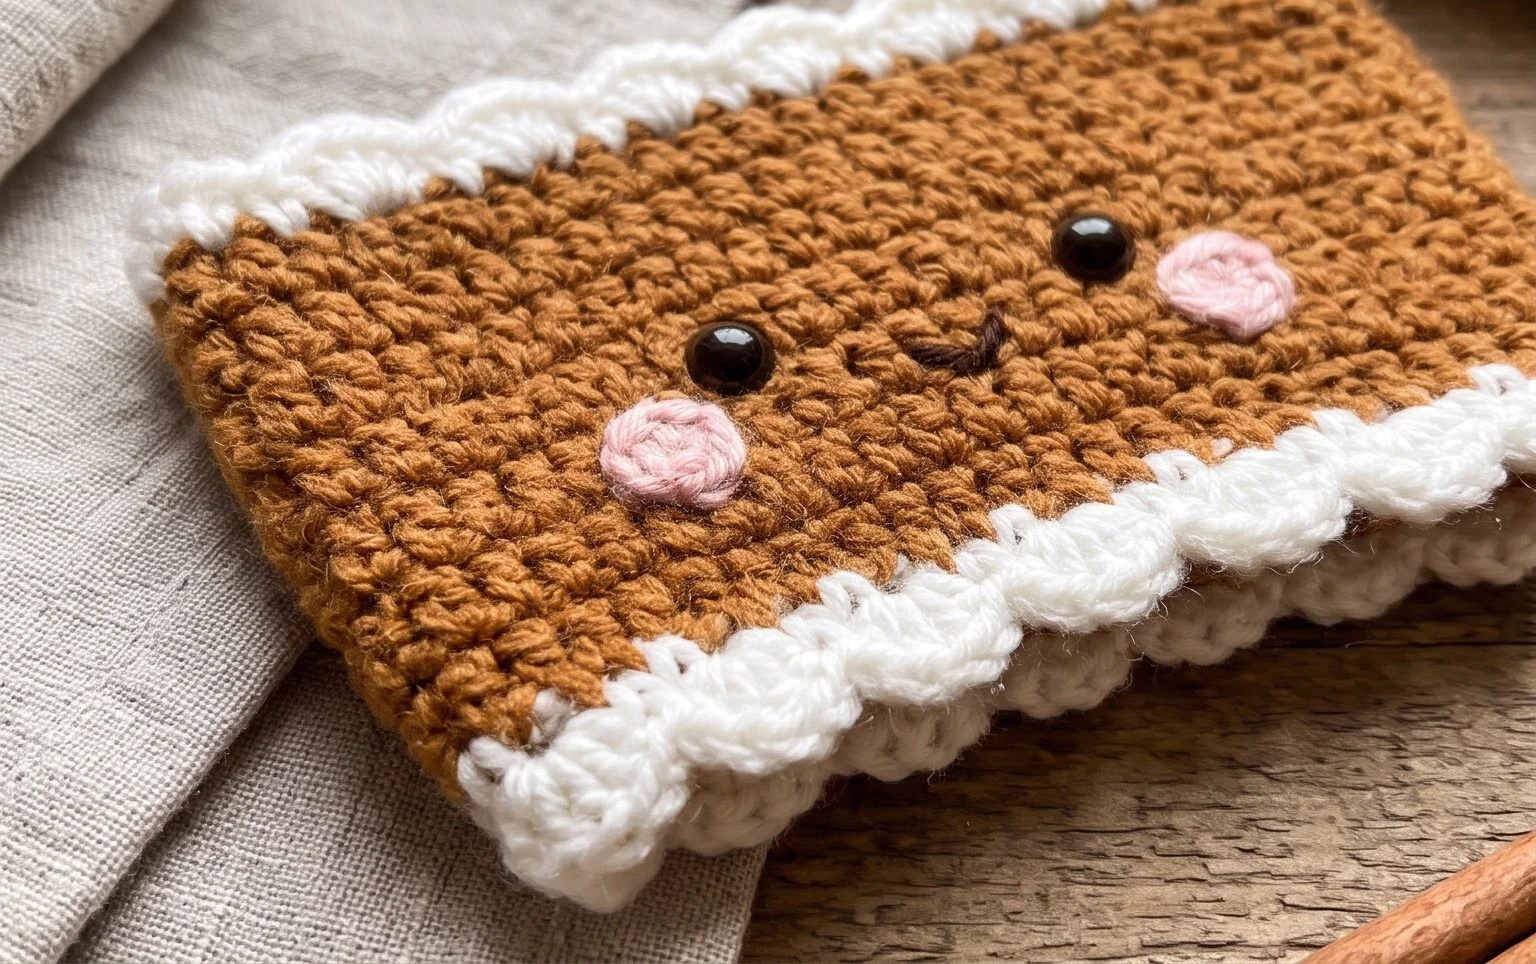
This handmade holiday accessory adds a touch of cheer to your morning routine while keeping your beverage hot for much longer. If you have extra time, try using a slightly fuzzy yarn to give the gingerbread a softer, more rustic appearance. Share a photo of your finished work on social media to inspire others in the crafting community. You can find more free patterns for simple home goods and winter accessories by browsing the full archive on my blog whenever you need your next project.