Easy Crochet Decorative Border: Step-by-Step Tutorial
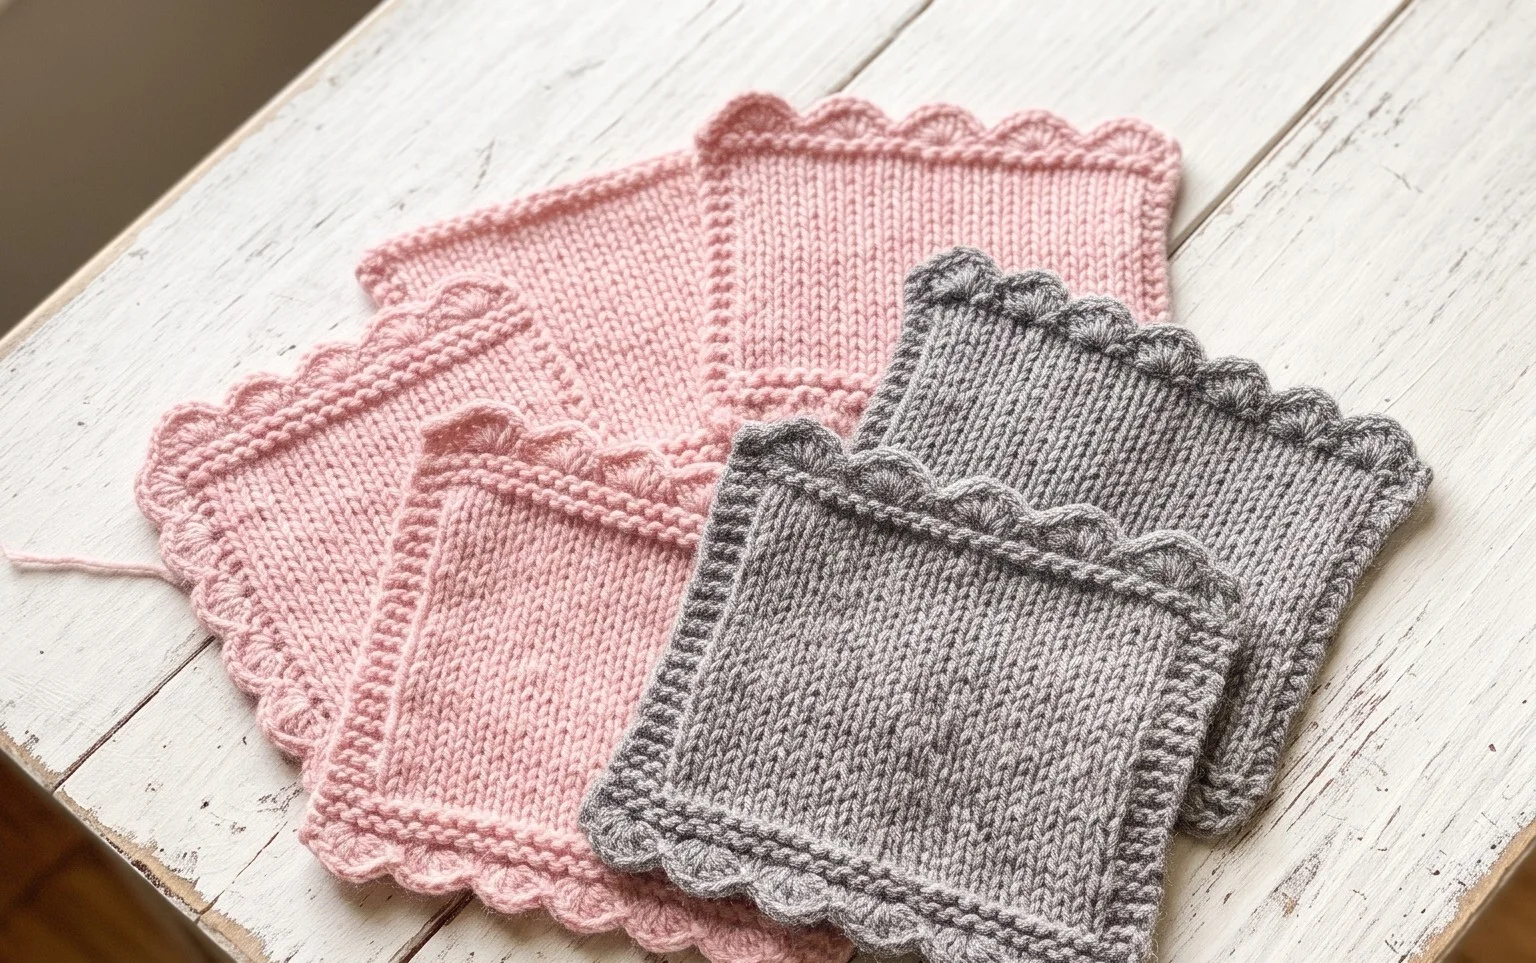
Adding a soft, ruffled finish to your crochet work transforms a simple square into a polished piece that feels dense and squishy in your hands. This project suits beginners who want to move past basic shapes and enjoy the rhythm of creating a scalloped border that sits neatly along the sides. You will find that working these extra rounds is a relaxing way to spend an afternoon when you have a bit of scrap yarn left over. The repetitive motion of the stitches creates a delicate frame for your handmade goods, helping you master tension while building something truly special for your home.
Why This Project Is Worth Making
The Classic Crochet Granny Square is the quintessential building block for fiber artists. You will love how quickly this pattern works up, making it ideal for stash-busting leftover bits of yarn from previous projects. Because the construction relies on simple clusters of stitches separated by chain spaces, it creates a rhythmic, meditative pace that is perfect for crocheting while listening to an audiobook or watching television. Its versatility means you can stop after a few rounds to make a coaster, or continue until you have created a full-sized heirloom blanket.
This pattern is straightforward and easy to memorize, which helped me finally gain confidence with my tension after struggling for months.
— Sarah, beginner crocheter
Pattern Overview & Skill Level
- Skill Level: Beginner
- Approximate Time: 30 to 45 minutes per square
- Construction: Worked in joined rounds, starting from the center and expanding outward
- Finished Dimensions: Approximately 6 inches by 6 inches when using worsted weight yarn
Materials & Supplies Needed
- Yarn: Worsted weight (#4), 100% cotton or acrylic blend, approximately 25-30 yards per square.
- Hook Size: 5.0 mm (US H-8).
- Notions: Tapestry needle for weaving in ends, sharp scissors.
- Yarn Substitutions: You can use DK weight yarn with a 4.0 mm hook for a smaller, delicate square, or bulky weight yarn with a 6.0 mm hook for a faster, chunkier finish. Note that changing weight will significantly alter the final dimensions.
Stitch Guide & Abbreviations (US Terms)
- ch = chain
- st/sts = stitch/stitches
- sl st = slip stitch (insert hook, yarn over, pull through stitch and loop on hook)
- dc = double crochet (yarn over, insert hook, yarn over, pull up a loop, yarn over, pull through two loops, yarn over, pull through remaining two loops)
- Cluster = a group of 3 dc stitches worked into the same space
- sp = space
Step-by-Step Pattern Instructions
Work all rounds by joining with a slip stitch to the top of the first stitch of the round.
- Rnd 1: Start with a magic ring. Ch 3 (counts as first dc), work 2 dc into ring, ch 2, *3 dc into ring, ch 2; repeat from * twice more. Join with a sl st to the top of the beginning ch 3. (12 dc, 4 ch-2 spaces)
- Rnd 2: Sl st into the next 2 sts and into the first ch-2 space. Ch 3, 2 dc, ch 2, 3 dc in same ch-2 space. *Ch 1, (3 dc, ch 2, 3 dc) in next ch-2 space; repeat from * twice more. Ch 1, join with a sl st to the top of the beginning ch 3. (24 dc, 4 ch-2 corner spaces, 4 ch-1 side spaces)
- Rnd 3: Sl st into the next 2 sts and into the corner ch-2 space. Ch 3, 2 dc, ch 2, 3 dc in corner. *Ch 1, 3 dc in next ch-1 space, ch 1, (3 dc, ch 2, 3 dc) in corner; repeat from * twice more. Ch 1, 3 dc in next ch-1 space, ch 1, join with a sl st to top of beginning ch 3. (36 dc, 4 corner spaces, 8 side ch-1 spaces)
- Rnd 4: Sl st into the next 2 sts and into the corner ch-2 space. Ch 3, 2 dc, ch 2, 3 dc in corner. *(Ch 1, 3 dc in next ch-1 sp) twice, ch 1, (3 dc, ch 2, 3 dc) in corner; repeat from * twice more. Ch 1, 3 dc in next two ch-1 spaces, ch 1, join with sl st to top of beginning ch 3. (48 dc, 4 corner spaces, 12 side ch-1 spaces)
Care & Washing Instructions
- Hand wash your finished item in cool water using a mild wool-safe detergent to preserve fiber integrity.
- Lay the square flat on a clean towel to air dry, gently patting it into a square shape to ensure even edges.
- Block your finished pieces by pinning them to a foam mat while damp to achieve perfectly straight edges and consistent sizing.
Pro Tips & Common Mistakes to Avoid
Maintain consistent tension by holding your yarn with a steady, relaxed grip. If your square starts to cup or ripple, your tension is likely too tight or too loose, respectively. Always place a stitch marker in the first stitch of every round to ensure you join in the correct place, especially when working with dark-colored yarns. When finishing, weave your ends back and forth through the back of the clusters in multiple directions to lock them securely in place. To increase the size of the square, simply repeat the pattern of working 3 dc in each side ch-1 space and (3 dc, ch 2, 3 dc) in each corner until you reach your desired dimensions.
Frequently Asked Questions
Can I use different weights of yarn together?
Mixing yarn weights is generally discouraged because it creates uneven textures and will cause the square to warp or bulge rather than lying flat.
How do I join these squares together?
You can join squares using a whip stitch with a tapestry needle or by using a slip stitch join along the back loops of the edges for a decorative raised seam.
Is it okay to sell items made from this pattern?
You are welcome to sell finished items created from this pattern, provided you credit the original design and use your own photographs for your product listings.
What if my square has a twisted appearance?
A twisted square usually happens when you accidentally increase into the wrong space or skip a stitch. Verify your stitch counts after every round to ensure each side has the correct number of cluster groups.
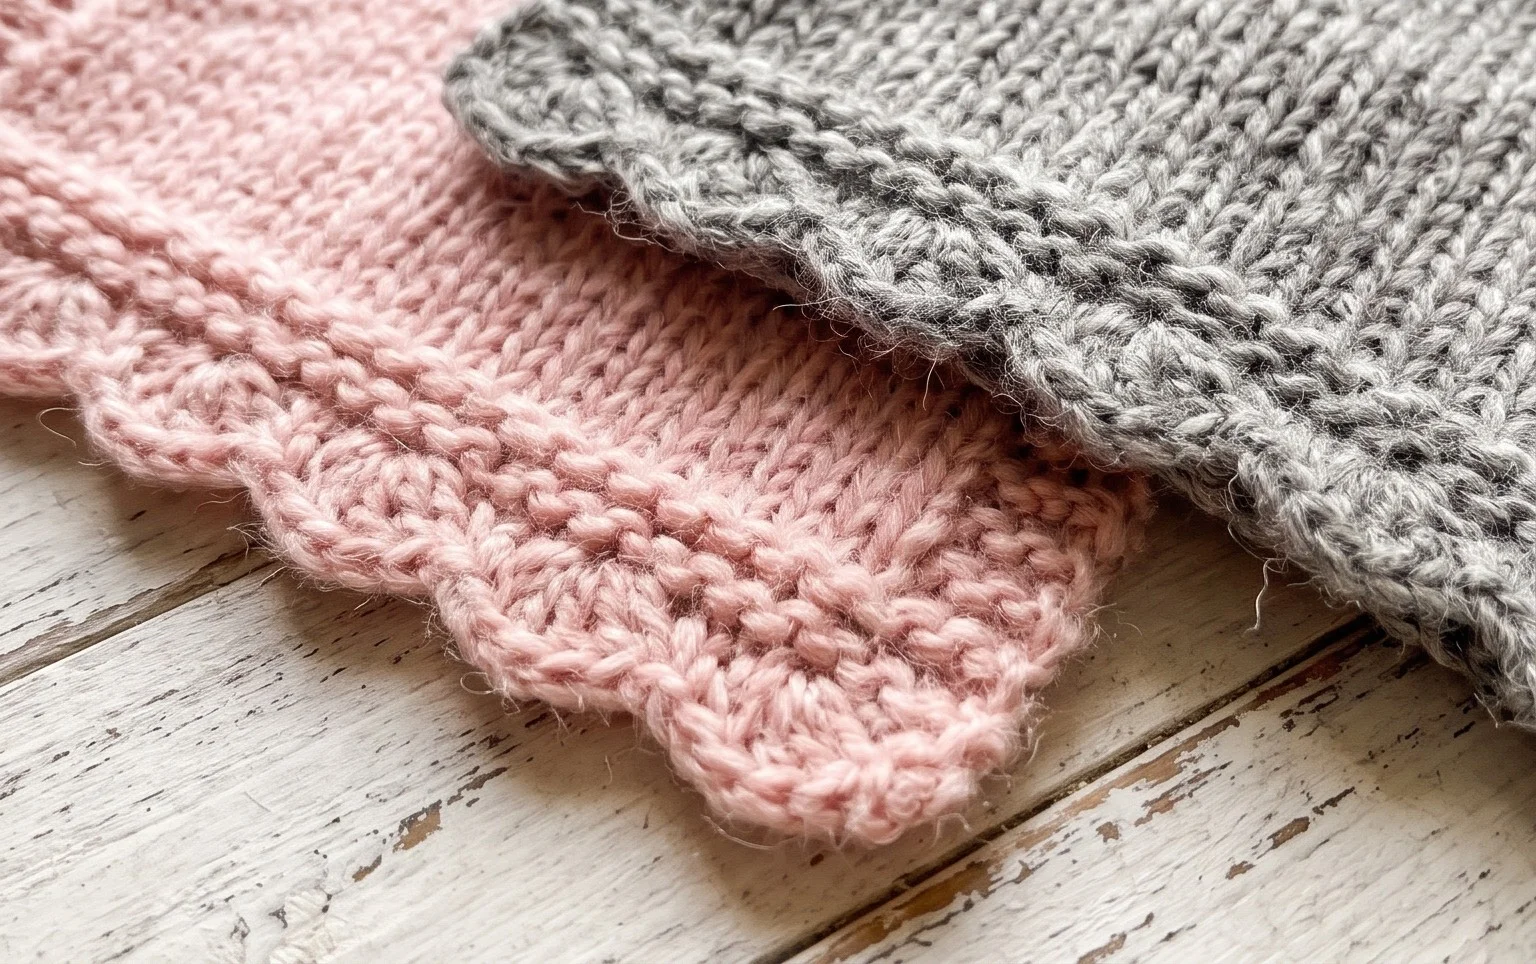
Your new border adds a thoughtful finish that makes every handmade square stand out as a finished piece of home decor. You might experiment with a contrasting bright color for the final round to help the scalloped shape pop against a neutral center. Seeing how these pieces turn out when you share your photos online is always a highlight, so tag your work so others can see your progress. Feel free to browse through the rest of the pattern archive to find your next creative project.