Easy Crochet Celtic Stripes Beanie Free Pattern Guide
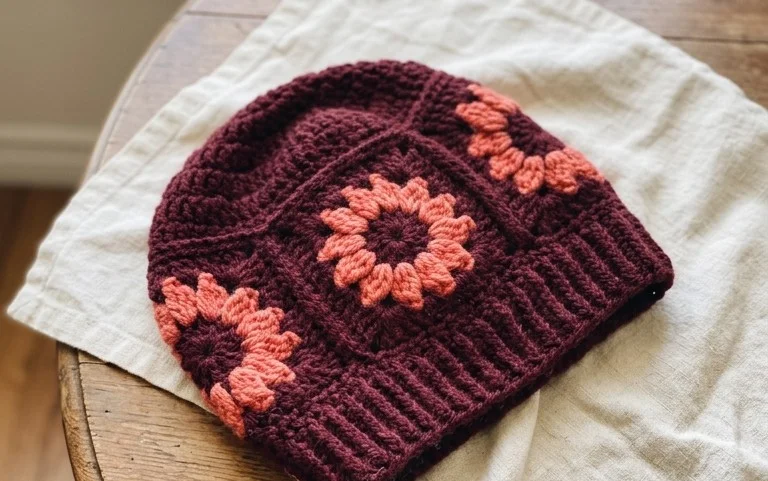
Soft wool against your ears brings instant comfort when the temperature drops, and this accessory provides that warmth with a distinct, sophisticated ribbing that mimics knit fabrics. Beginners often find garment construction daunting, but this rectangular panel approach eliminates the need for complex shaping or counting increases. You will work primarily in the back loops, a straightforward technique that creates a thick, flexible texture capable of hugging any head shape without losing its form. This project transforms a single skein of yarn into a polished, winter-ready accessory in just a few hours. It feels rewarding to hold a finished item you made yourself from start to finish.
Why You’ll Love This Pattern
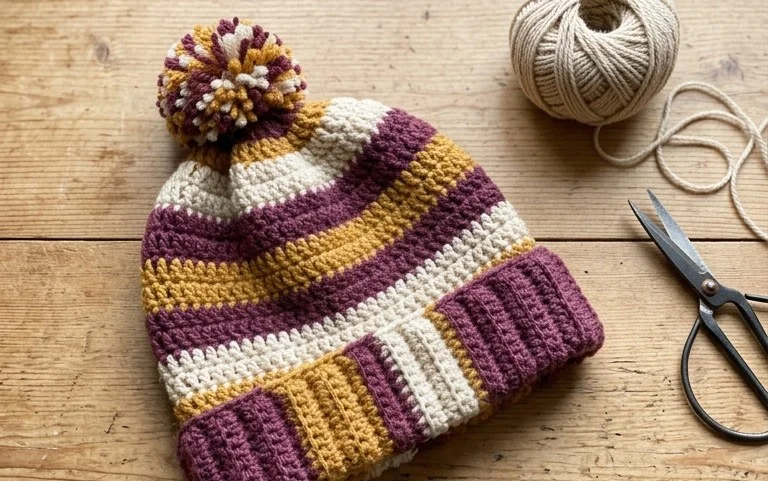
This crochet ribbed beanie pattern uses a simple construction method that mimics the look of a store-bought, knit-style hat. Because it is worked as a flat rectangular panel, you avoid the complexity of shaping rounds and decrease math. The texture relies on working in the back loops, which creates a flexible, stretchy fabric that fits a variety of head sizes comfortably. It is a quick project that requires less than one skein of standard yarn, making it ideal for clearing out small portions of your stash. The thick ribbing provides excellent warmth for winter wear, and the minimal seaming makes it an approachable entry point for those new to garment construction.
I finished this hat in a single evening while watching a movie. The texture is so soft and it actually fits my head perfectly without stretching out of shape.
— Sarah, hobbyist crocheter
Pattern Overview & Skill Level
- Skill Level: Beginner
- Approximate Time: 3 to 4 hours
- Construction: Flat rectangular panel worked in rows, then seamed to form a tube
- Finished Dimensions: 9 inches wide by 11 inches long (fits standard adult head)
Materials & Supplies Needed
- Yarn: Worsted weight #4 acrylic or wool blend, approximately 200 yards.
- Hook Size: 5.5 mm (US I-9).
- Notions: Tapestry needle for seaming and weaving ends, scissors, and a measuring tape.
- Yarn Substitutions: You may use a DK weight yarn for a lighter, drape-heavy hat, though you will need to increase the number of starting chains to maintain the width. Avoid heavy cotton yarns as they lack the necessary elasticity for a comfortable beanie fit.
Stitch Guide & Abbreviations (US Terms)
- ch = chain
- sc = single crochet
- BLO = back loop only (insert hook under the back loop of the stitch instead of both loops to create ridges)
- st/sts = stitch/stitches
- sl st = slip stitch
Step-by-Step Pattern Instructions
Hat Body
The entire body of the hat is worked in a single flat piece. When working in BLO, always ensure you maintain an even tension to prevent the edges from curling inward.
- Row 1: Ch 41. Sc in second ch from hook and each ch across. (40 sts)
- Row 2: Ch 1, turn. Sc in BLO of each st across. (40 sts)
- Rows 3–60: Repeat Row 2 until the piece measures approximately 18 inches in length when slightly stretched.
- Finishing: Fasten off, leaving a long 15-inch tail for seaming.
Assembly
Fold your rectangle in half so the short edges meet. Using your tapestry needle and the long tail, sew the two short edges together using a whip stitch or mattress stitch. Once the seam is closed to form a tube, weave your needle in and out through the stitches along the top edge of the tube. Pull the yarn tail tight to cinch the top shut like a drawstring. Secure the center with a knot and weave in all remaining ends. Turn the hat right-side out before wearing.
Care & Washing Instructions
- Hand wash in cool water using a mild wool-safe detergent to preserve fiber integrity.
- Lay the item flat on a dry towel and reshape to original dimensions while damp to prevent shrinking.
- Do not hang to dry, as the weight of the water can stretch the fibers and distort the ribbing pattern.
Pro Tips & Common Mistakes to Avoid
Maintain consistent tension throughout every row; if your tension fluctuates, the resulting rectangle will be uneven, making the final seam difficult to align correctly. Always use a stitch marker in the first stitch of every row to ensure you are not accidentally dropping stitches at the edges, which would lead to a tapered shape rather than a rectangle. When weaving in your ends, run the needle through the center of the stitches on the inside of the hat rather than through the fabric, which keeps the finish completely invisible. If you wish to make this hat larger or smaller, simply add or subtract chains in the initial foundation row to reach your desired height.
Frequently Asked Questions
Can I use a larger hook for this pattern?
Using a larger hook will make the fabric looser and potentially more prone to stretching out over time. If you choose to size up your hook, consider using a slightly heavier yarn to keep the stitches dense enough for warmth.
Is this project suitable for a complete beginner?
Yes, this is an ideal project for beginners because it only utilizes the single crochet stitch. The repetitive motion helps build muscle memory for consistent tension without requiring complex stitch changes.
Can I sell the finished hats I make?
Please check the individual license terms of the yarn brand you use and your local commerce regulations. Most independent designers allow for the sale of small-batch finished items made from their patterns, provided you credit the original design.
Why does my hat look smaller than the dimensions stated?
Stitch gauge varies by person. If your hat feels too small, ensure you are not pulling your yarn too tightly as you work in the back loops, as this technique naturally tightens the fabric more than standard single crochet.
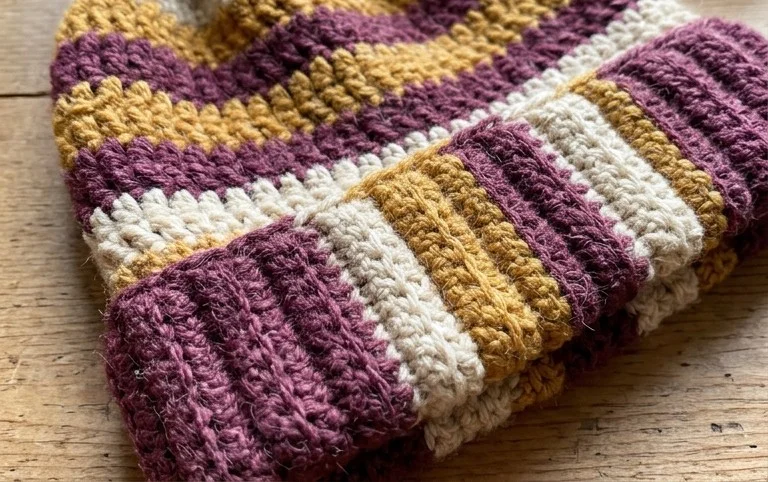
Your finished hat serves as a reliable staple for cold days, and you can easily customize the look by choosing a variegated yarn or adding a large pom-pom for a playful touch. Consider working a slightly longer panel if you prefer a slouchy fit instead of the standard snug style. Please share a photo of your creation with us on social media so we can see your work. Feel free to browse our collection of other winter accessory designs to find your next afternoon project.