Easy Crochet Tote Bag: Free Beginner Pattern & Tutorial
A small, sturdy pouch brings order to a cluttered workspace or serves as a thoughtful handmade gift for friends who appreciate tactile items. This cotton drawstring bag feels dense in your hands yet remains soft enough to pull shut with a simple tug. Beginners often find this project rewarding because it relies on working in a continuous spiral, which prevents the frustration of bulky seams or complex counting. You will learn to build a solid base before transitioning into steady rounds of double crochet stitches. Completing this bag usually takes just over an hour, making it a reliable project for busy afternoons.
Why You’ll Love This Pattern
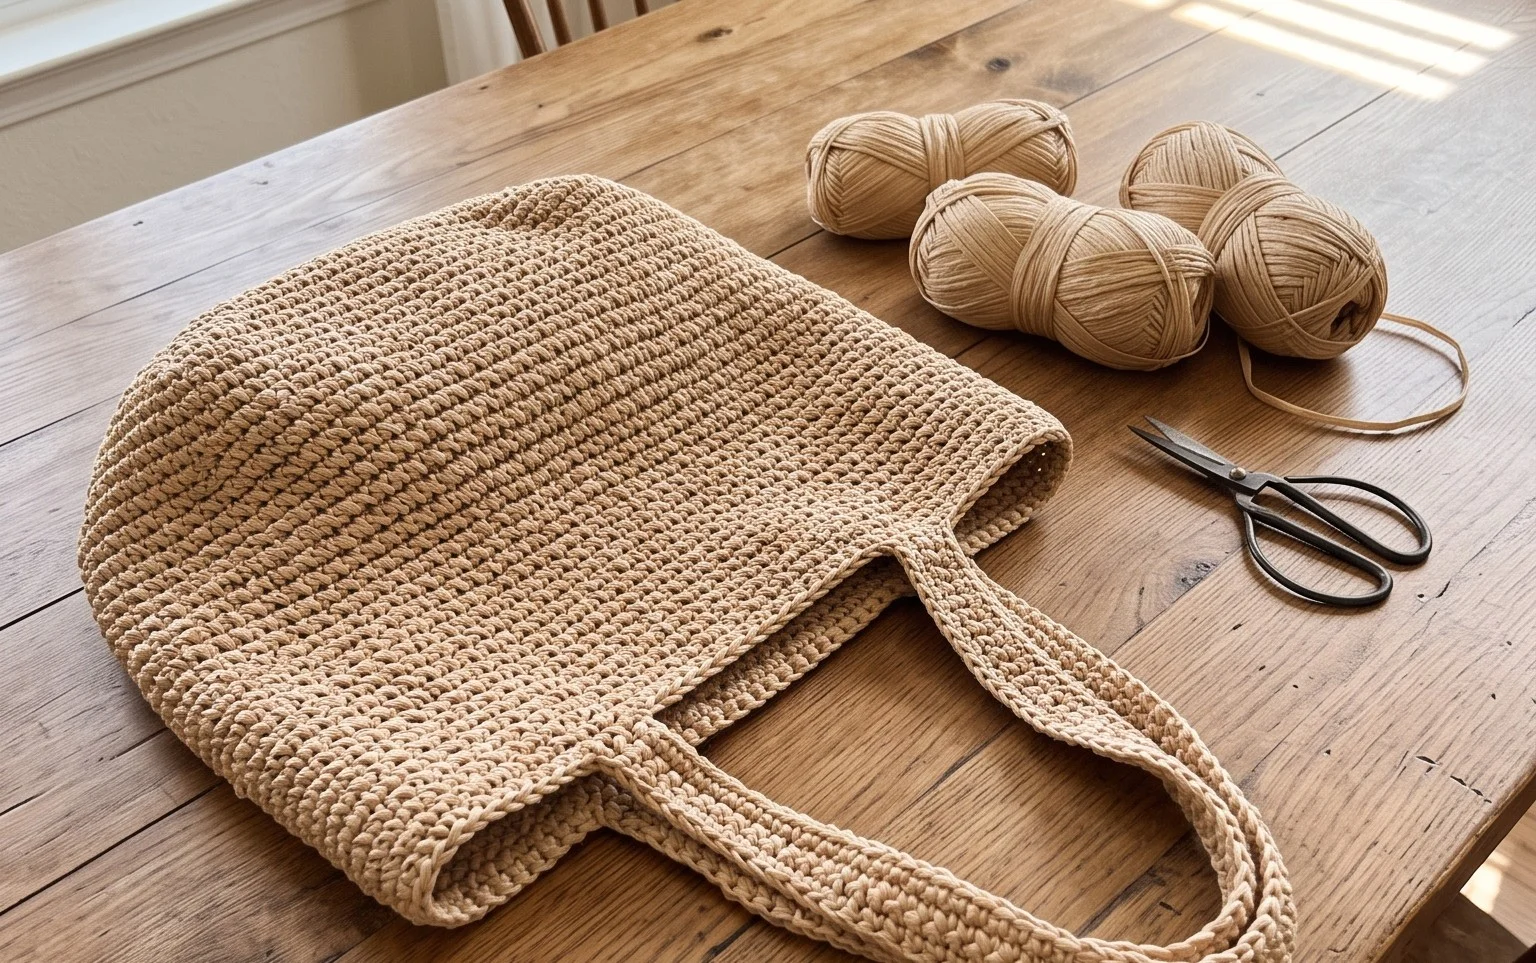
This crochet project produces a classic, versatile drawstring pouch perfect for organizing notions, jewelry, or small trinkets. The construction relies on simple double crochet stitches worked in a continuous spiral, which removes the need for visible seam lines. Because the design uses a worsted weight yarn, the fabric is dense enough to hold small items securely while remaining pliable enough to cinch tightly. Beginners appreciate this pattern because it introduces the concept of working in the round without the complexity of frequent increases or decreases. If you are looking to clear out your stash, this pouch uses less than one standard 100-gram skein of yarn, making it a sustainable and cost-effective gift option.
I managed to finish this little bag in just over an hour. The instructions are very clear, and it works up so quickly that I have already made three more for my daughter.
— Sarah, hobbyist crocheter
Pattern Overview & Skill Level
- Skill Level: Beginner
- Approximate Time: 1 to 1.5 hours
- Construction: Worked in continuous rounds from the base upward, finished with a double-thickness drawstring casing and simple chain-stitch cord.
- Finished Dimensions: Approximately 5 inches wide by 6 inches tall when laid flat.
Materials & Supplies Needed
- Yarn: Worsted weight (#4), 100% cotton is recommended for structure and durability. Approximately 60 yards required.
- Hook Size: 5.0 mm / H-8
- Notions: Tapestry needle for weaving in ends, a locking stitch marker to track the start of rounds, and scissors.
- Yarn Substitutions: Acrylic worsted weight yarn is an acceptable substitute and will result in a softer, more flexible pouch. Cotton-blend yarns provide a balance of stiffness and softness, though very soft wool may stretch significantly over time under the weight of contents.
Stitch Guide & Abbreviations (US Terms)
- ch = chain
- sc = single crochet
- dc = double crochet
- st/sts = stitch/stitches
- sl st = slip stitch
- MR = magic ring
- BLO = back loop only: Insert hook under the back loop of the stitch only, rather than both loops.
- dc2tog = double crochet two stitches together: Yarn over, insert hook in next st, pull up loop, yarn over, pull through two loops (two loops on hook), yarn over, insert hook in next st, pull up loop, yarn over, pull through two loops, yarn over, pull through all three loops on hook.
Step-by-Step Pattern Instructions
Pouch Base and Body
- Rnd 1: Start with a MR, work 10 dc into ring. Pull tail tight to close (10 sts).
- Rnd 2: Work 2 dc in each st around (20 sts).
- Rnd 3: 1 dc in next st, 2 dc in next st repeat from * to * around (30 sts).
- Rnd 4: 1 dc in each of next 2 sts, 2 dc in next st repeat from * to * around (40 sts).
- Rnd 5: Work in BLO, 1 dc in each st around (40 sts).
- Rnds 6–16: 1 dc in each st around (40 sts).
Drawstring Casing
- Rnd 17: Ch 3 (counts as 1 dc), ch 1, skip 1 st, 1 dc in next st repeat from * to * around (40 total spaces/stitches).
- Rnd 18: 1 dc in each dc and each ch-1 space around (40 sts).
- Rnd 19: 1 sc in each st around. Join with a sl st to the first sc and fasten off, leaving a 6-inch tail to weave in (40 sts).
Drawstring Cord
Create a foundation chain of 80 stitches. Turn and work a sl st in each ch across. Fasten off and knot the ends securely. Weave this cord in and out through the spaces created in Rnd 17 of the pouch.
Care & Washing Instructions
- Hand wash the completed pouch in cool water with a mild detergent to prevent shrinking or distortion of the stitch pattern.
- Gently squeeze out excess water with a clean towel and lay the pouch flat on a drying rack, ensuring it is shaped correctly before it dries.
- Avoid using a tumble dryer, as heat can break down the fibers and cause the cotton to lose its firm structure over time.
Pro Tips & Common Mistakes to Avoid
- Maintain consistent tension throughout the body of the pouch; if your stitches are too loose, the bag will stretch and sag when filled.
- Use a locking stitch marker at the very first stitch of every round to keep track of your position, as the spiral construction can make it difficult to identify the start of the next round.
- Weave your ends back and forth through the stitches at least three times in different directions to ensure the yarn does not pull out with regular use.
- Adjust the size by adding or subtracting increases in the base rounds, keeping in mind that each change to the base diameter will require more or less yarn and may affect the overall stability of the pouch sides.
Frequently Asked Questions
Can I use a larger hook to make the pouch bigger?
Using a larger hook will increase the size of the pouch, but it will also create larger gaps between the double crochet stitches. This may allow small items to fall out of the bag.
Is this pattern suitable for complete beginners?
Yes, the pattern utilizes basic stitches that are easily mastered. The most important skill to practice is keeping your tension steady so the fabric remains uniform.
Am I allowed to sell the pouches I make from this pattern?
You are welcome to sell finished items created from this pattern. I ask that you credit the pattern design to me if you are selling them in an online shop or craft market.
How do I prevent the bag from leaning to one side?
The leaning effect often happens when working in continuous rounds without a slip stitch join. To minimize this, ensure you are not accidentally skipping a stitch or adding an extra stitch at the start of each new round.
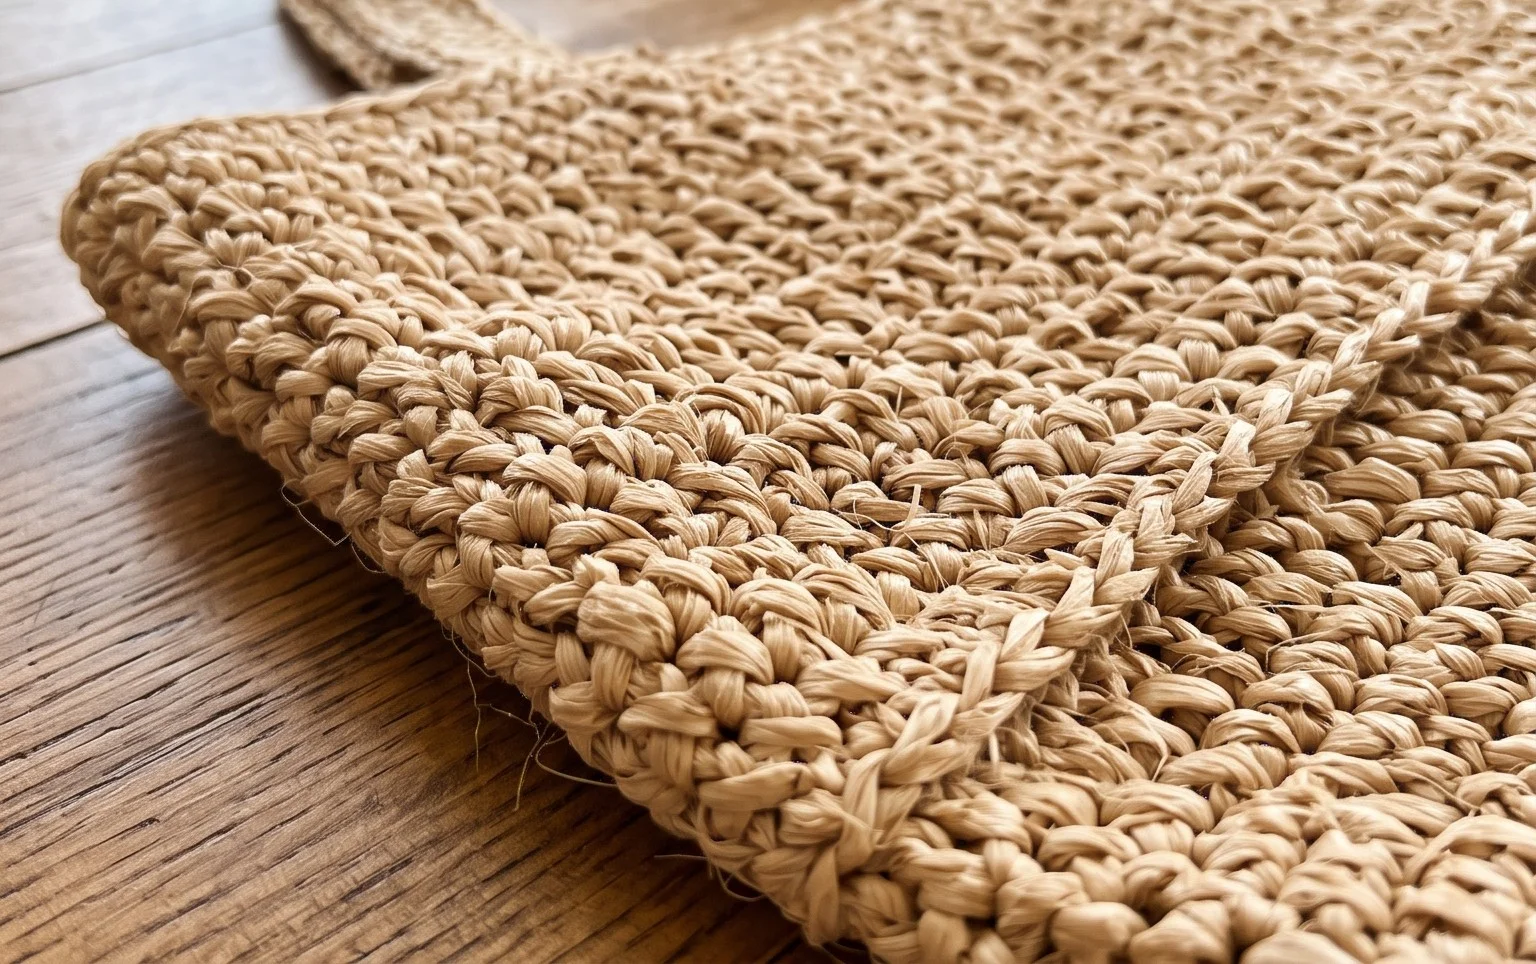
Your finished drawstring bag is now ready to hold your favorite jewelry or small craft supplies. Consider making a larger version by using a bulkier yarn and a bigger hook for a different look. You might also try striping two colors to give the bag a bold, graphic style. When you finish yours, share a photo on social media so others can see your work. Feel free to browse our other free projects here on the blog to find your next afternoon craft.