Easy DIY Chunky Knit Throw Blanket: Free Step-by-Step
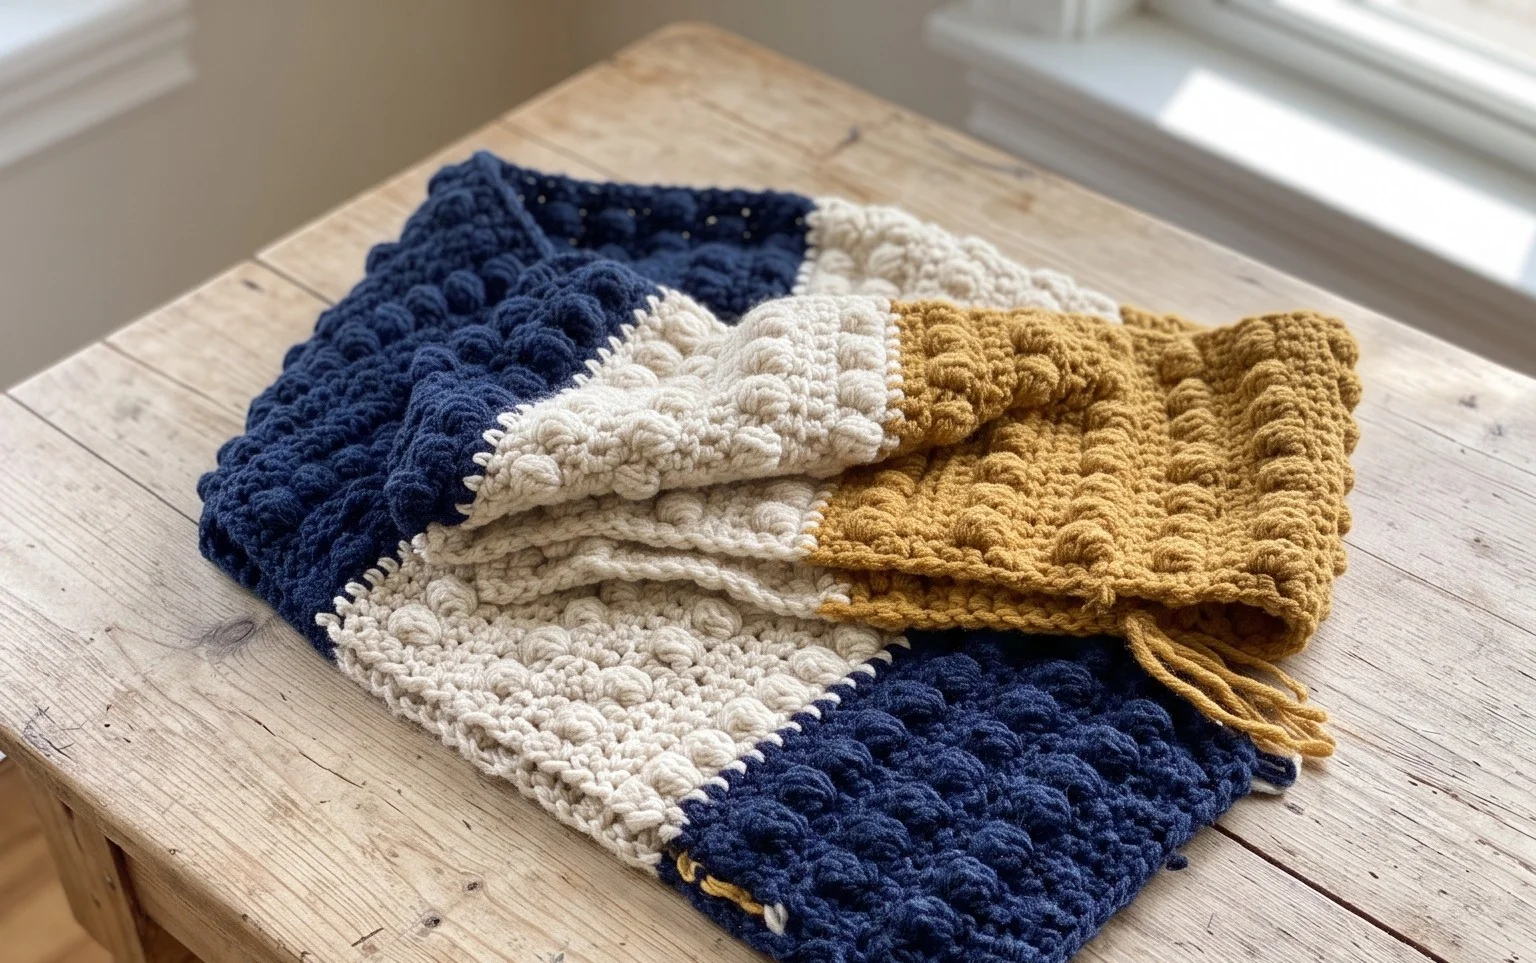
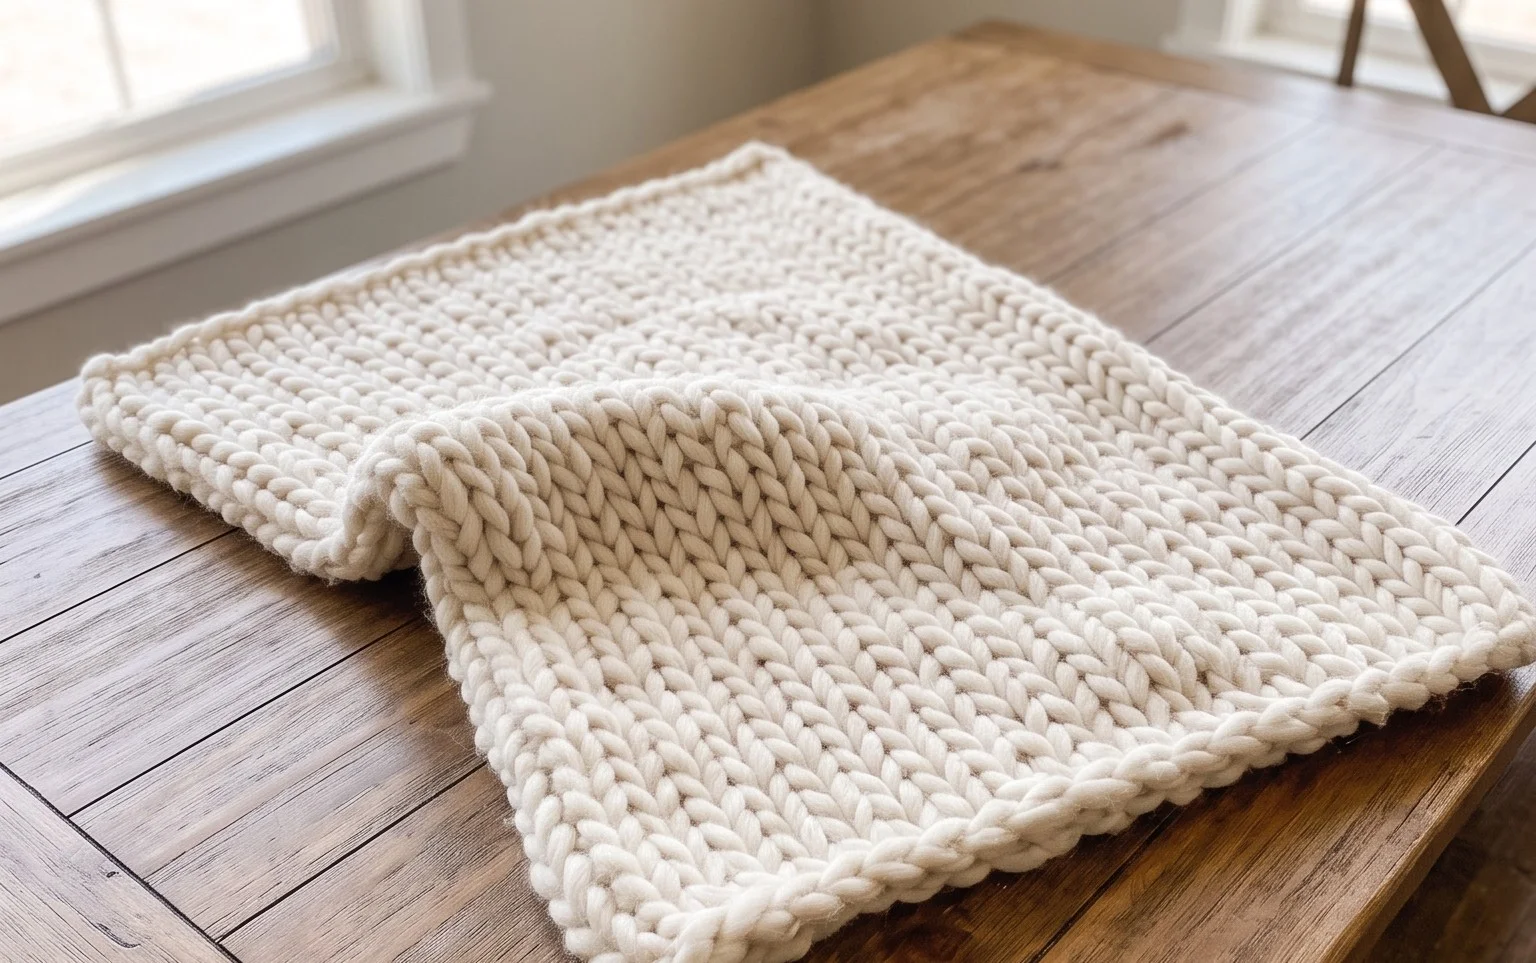
A heavy, oversized blanket made from thick wool creates a soft texture that holds heat against your skin on chilly evenings. This project involves giant, soft loops of yarn that work up quickly even if you have never held a crochet hook before. Making your own home goods gives you full control over the final dimensions, allowing you to customize the length to fit perfectly at the foot of your bed or across a living room sofa. You will learn the basic chain and double crochet techniques that form the dense, warm foundation for this cozy handmade staple.
Why You’ll Love This Pattern
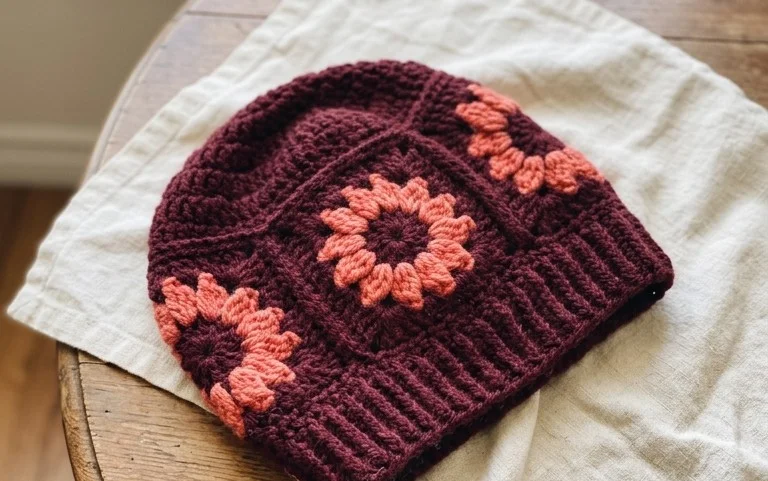
The Classic Crochet Granny Square is the fundamental building block for countless textile projects, from cozy blankets to lightweight summer totes. This pattern relies on the iconic cluster-stitch technique, which creates a rhythmic, repetitive motion that is meditative for seasoned makers and manageable for beginners. Because it works up quickly using simple double crochet stitches, you can complete a square in a single sitting while watching television or commuting. It is also a highly efficient way to utilize leftover yarn scraps, as each square requires only a small amount of yardage, making it an eco-friendly stash-busting solution.
I learned to crochet last week and this pattern was the first thing that actually looked like a real project. The instructions are very clear and I finally understand how to turn the corners correctly.
— Sarah, beginner crafter
Pattern Overview & Skill Level
- Skill Level: Beginner
- Approximate Time: 30 to 45 minutes per square
- Construction: Worked in joined rounds, starting from the center and expanding outward
- Finished Dimensions & Sizing: Approximately 6 inches by 6 inches when using worsted weight yarn and a 5.0 mm hook
Materials & Supplies Needed
- Yarn: Worsted weight (#4), 100% acrylic or wool blend, approximately 20 yards per square.
- Hook Size: 5.0 mm (US size H-8).
- Notions: Tapestry needle for weaving in ends, sharp scissors.
- Safe yarn substitutions: You can use DK weight yarn with a 4.0 mm hook for a smaller, tighter square, or bulky weight yarn with a 6.0 mm hook for a larger, quicker square. Note that changing yarn weight will significantly alter the final dimensions.
Stitch Guide & Abbreviations (US Terms)
- ch = chain
- st/sts = stitch/stitches
- sl st = slip stitch
- dc = double crochet
- dc cluster = 3 double crochet stitches worked into the same space
- sp = space (the gap created by the chain stitches in the previous round)
Step-by-Step Pattern Instructions
Center and Foundation
Start with a magic ring or by chaining 4 and joining with a slip stitch to form a circle.
- Rnd 1: Ch 3 (counts as first dc here and throughout), work 2 dc into the center of the ring, ch 2, *3 dc into ring, ch 2; repeat from * two more times. Join with a sl st to the top of the initial ch-3. (12 sts, 4 ch-2 spaces)
- Rnd 2: Sl st into the next dc and into the first ch-2 corner space. Ch 3, 2 dc in same sp, ch 2, 3 dc in same sp (first corner made). *Ch 1, skip 3 sts, [3 dc, ch 2, 3 dc] in next ch-2 space; repeat from * two more times. Ch 1, join with sl st to top of beg ch-3. (24 sts, 4 corner spaces, 4 ch-1 spaces)
- Rnd 3: Sl st into the next dc and into the first ch-2 corner space. Ch 3, 2 dc in same sp, ch 2, 3 dc in same sp. *Ch 1, 3 dc in next ch-1 space, ch 1, [3 dc, ch 2, 3 dc] in next corner space; repeat from * two more times. Ch 1, 3 dc in final ch-1 space, ch 1, join with sl st to top of beg ch-3. (36 sts, 4 corner spaces, 8 side spaces)
Finishing
To finish your square, cut the yarn leaving a 6-inch tail. Pull the tail through the final loop on your hook to secure the knot. Use a tapestry needle to weave the end through the back loops of the stitches, traveling in multiple directions to prevent the end from unraveling over time.
Care & Washing Instructions
- Hand wash your finished item in cool water using a gentle detergent specifically formulated for wool or synthetic fibers.
- Lay the piece flat on a clean towel, reshaping it into a perfect square, and allow it to air dry away from direct sunlight.
- If the square appears slightly distorted, use a steam iron held an inch above the fabric or a damp pressing cloth to block it into a crisp shape.
Pro Tips & Common Mistakes to Avoid
- Maintain consistent tension by ensuring your yarn is not pulled too tightly across the hook, which can cause the square to curl or shrink.
- Place a stitch marker in the top of the initial ch-3 of each round to easily identify the join point, preventing you from accidentally adding extra stitches.
- Weave your yarn ends into the wrong side of the work using a duplicate stitch pattern for a clean, professional finish that is hidden from view.
- Increase the size of your square by adding more rounds, repeating the pattern of [3 dc, ch 2, 3 dc] in the corners and [3 dc] in each ch-1 side space; keep in mind that larger squares will consume significantly more yarn.
Frequently Asked Questions
Can I use cotton yarn for this square?
Yes, cotton yarn works beautifully and provides a stiff, durable finish that is ideal for dishcloths or coasters. Expect cotton to have less stretch than acrylic, so keep your tension slightly looser.
Why is my square not laying flat?
If your square is ruffling, you have too many stitches; if it is pulling inward or cupping, you have too few stitches. Check your stitch counts at the end of every round to ensure you are hitting the corners correctly.
Can I sell the squares I make from this pattern?
You are welcome to sell finished items made from this pattern as long as you credit the original design and use your own photographs. Please do not redistribute or sell the written pattern itself.
How do I change colors for a striped look?
To change colors, complete the final slip stitch of a round using your new yarn color. Alternatively, fasten off at the end of a round and join the new color in any corner space with a standing double crochet stitch.
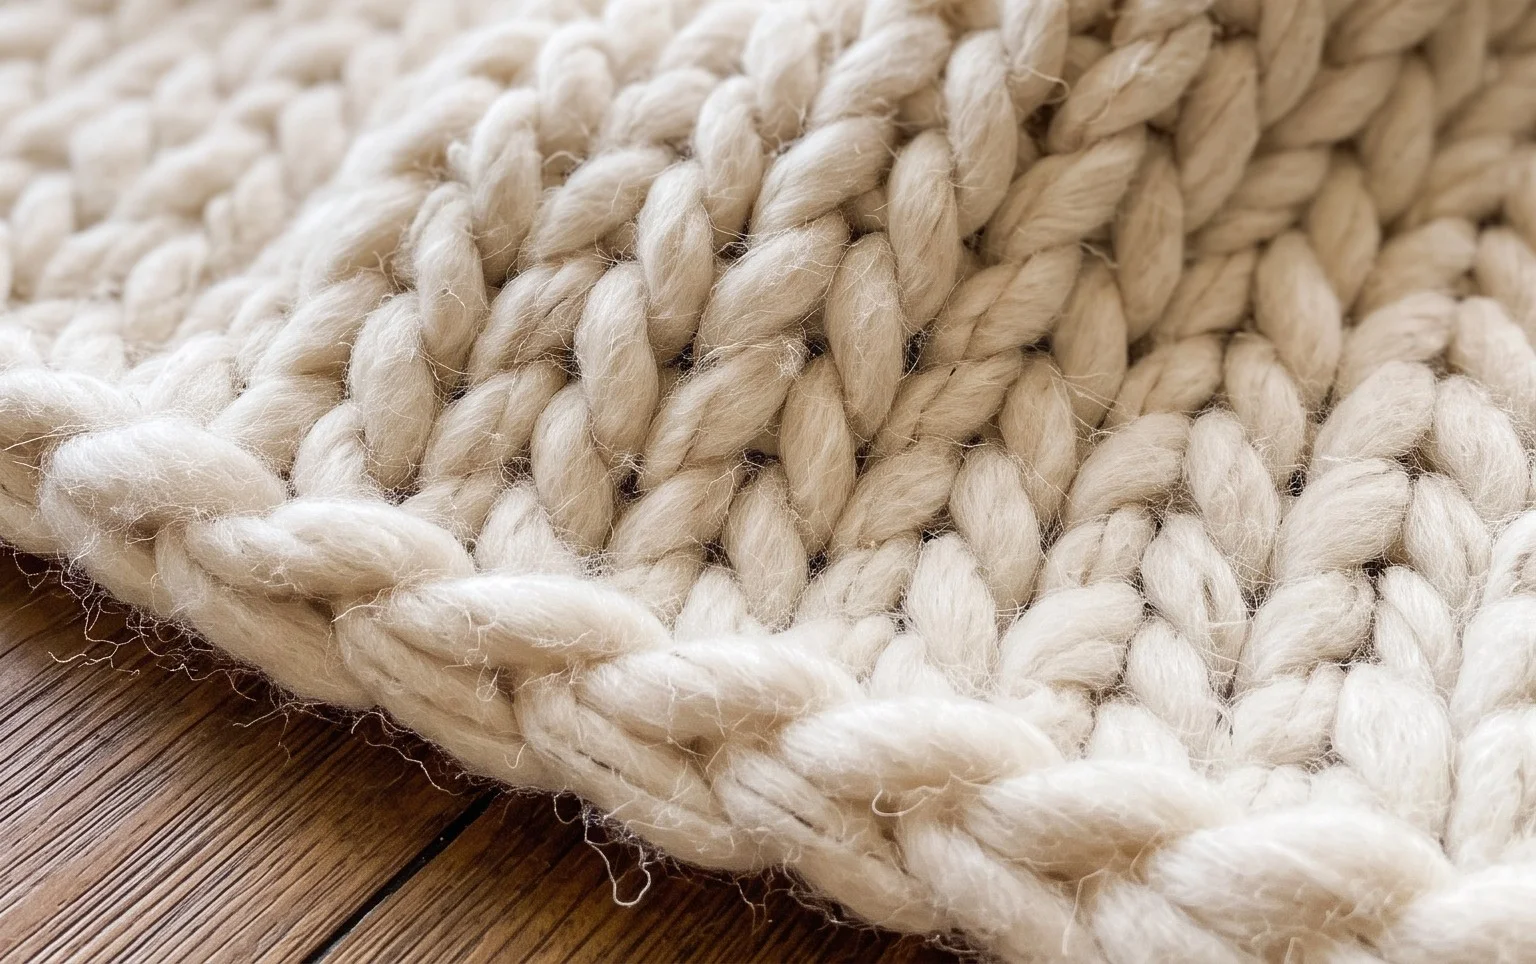
You now have a finished piece that brings warmth to your favorite reading nook or bedroom. Consider swapping the solid cream yarn for a variegated wool blend if you want to add a unique pattern to your living space without changing the stitch count. Sharing your finished work online helps other makers find inspiration for their own home projects. Feel free to browse through the rest of the blog for more free patterns that use similar weight yarns and simple techniques to fill your home with handmade comfort.