Easy Baby Winter Hat Pattern: Free Beginner Crochet Guide
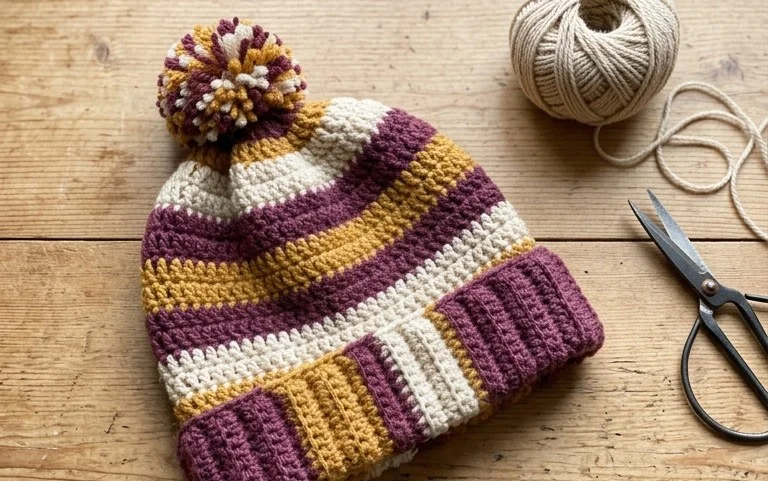
Soft wool against a baby’s cheek makes the long hours of winter a bit more manageable for new parents. This simple ribbed beanie design creates a squishy, fabric-like texture that grows with your little one while providing genuine warmth. It is a rewarding project for anyone starting out with a hook because it relies entirely on a single repeating stitch pattern. You will master the back-loop technique to create that professional, knit-style elasticity without any of the headache of complex shaping. Making these small hats is a quiet, meditative way to produce handmade gifts that actually get used during the cold months.
Why You’ll Love This Pattern
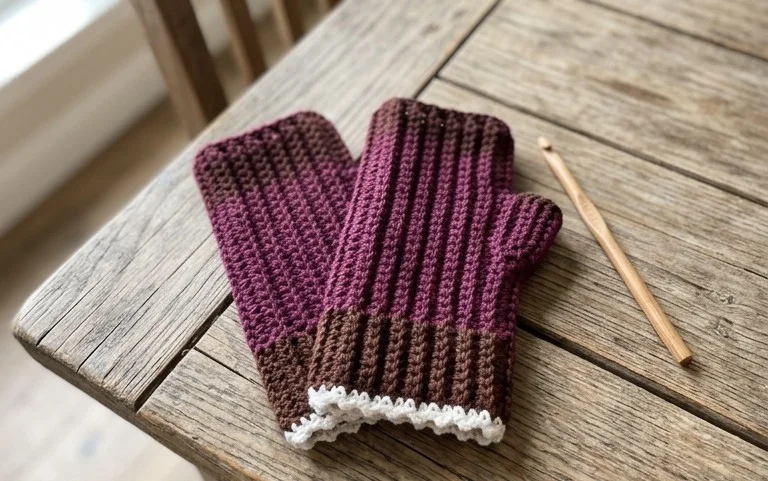
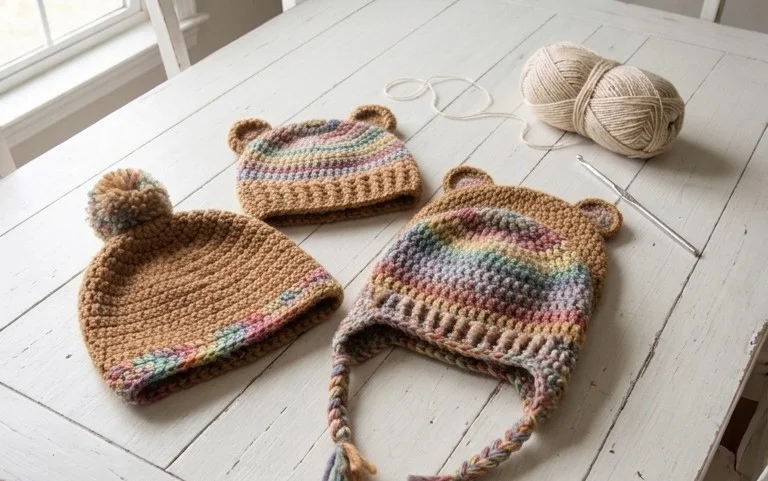
This crochet ribbed beanie relies on a simple repeating pattern of single crochet stitches worked through the back loops only. By working into the back loops, the fabric develops a naturally stretchy, knit-like texture that clings comfortably to the head. It is a quick project because it uses a worsted weight yarn that works up rapidly with a larger hook. The construction is a simple rectangle that is seamed at the side and gathered at the top, making it ideal for those who prefer to avoid complicated shaping or circular increases. You can easily adjust the height of the hat by changing the starting chain length or the width by working more or fewer rows.
I finished this hat in one evening while watching a movie. The ribbed effect looks professional and fits perfectly without being too tight.
— Sarah, hobbyist crocheter
Pattern Overview & Skill Level
- Skill Level: Beginner
- Approximate Time: 2 to 3 hours
- Construction: Worked flat in rows to create a rectangle, then seamed to form a tube and gathered at the crown
- Finished Dimensions: 18 inches circumference (stretches to 22 inches) and 9 inches height
Materials & Supplies Needed
- Yarn: Worsted weight (#4), approximately 200 yards of wool or acrylic blend
- Hook Size: 5.5 mm (US I-9)
- Notions: Tapestry needle, scissors, measuring tape
- Safe yarn substitutions: Any acrylic or wool blend labeled as #4 worsted weight will work. Using a 100% cotton yarn will result in a heavier hat with less natural stretch, which may require you to add a few extra rows to the width to ensure a comfortable fit.
Stitch Guide & Abbreviations (US Terms)
- ch = chain
- sc = single crochet
- BLO = back loop only: insert hook only under the back loop of the stitch instead of both loops to create ribbing
- sl st = slip stitch
- st/sts = stitch/stitches
Step-by-Step Pattern Instructions
Hat Body
- Row 1: Ch 35. Sc in the second ch from hook and in each ch across. Ch 1, turn. (34 sts)
- Row 2: Sc in BLO of each st across until the end of the row. Ch 1, turn. (34 sts)
- Rows 3–60: Repeat Row 2 until the piece measures 18 inches wide when laid flat.
Assembly
- Fasten off, leaving a long tail of approximately 12 inches for sewing.
- Fold the rectangle in half so the short edges meet, matching the stitches of the final row to the foundation chain.
- Using the tapestry needle and the long yarn tail, sew the side seam using a whip stitch, working through both the BLO edge and the foundation chain.
- Once the seam is complete, do not cut the yarn. Weave the yarn in and out along one of the open circular edges of the tube.
- Pull the yarn tail tight to gather the fabric, effectively closing the top of the hat.
- Secure with a knot and weave in the remaining yarn ends firmly to ensure the hat remains intact during wear.
Care & Washing Instructions
- Hand wash your finished hat in cool water using a gentle wool-safe detergent.
- Lay the hat flat on a towel to air dry, reshaping it while damp to maintain its form.
- Avoid wringing or twisting the fabric, as this can distort the ribbed stitches and ruin the elasticity of the yarn.
Pro Tips & Common Mistakes to Avoid
Maintain consistent tension throughout the project to ensure the ribbing looks uniform across the entire surface. If you crochet too tightly, the fabric will be stiff; use a slightly larger hook if you struggle with tight stitches. Always count your stitches at the end of every row, especially the final stitch, as beginners often skip the last stitch which leads to a crooked edge. If you want to increase the size of the hat, you can simply add more rows, but be aware that you will need additional yarn beyond the initial 200 yards.
Frequently Asked Questions
Can I use a chunky weight yarn instead of worsted?
You can, but you will need to adjust the starting chain length to match the desired height of your hat and use a larger hook size, such as a 6.5 mm or 8.0 mm, to maintain the correct drape.
How do I know if the hat is the right size?
Wrap the unfinished rectangle around your head before seaming it. It should feel snug, as the ribbing will provide some stretch, but it should not be so tight that it feels uncomfortable or pulls at your hair.
Is this pattern suitable for complete beginners?
Yes, this project only requires the single crochet stitch and the ability to work into the back loop. It is an excellent way to practice even tension without having to manage complex counting or shaping.
Can I sell the hats I make from this pattern?
You are welcome to sell finished items made from this pattern, provided you credit the designer and use your own original photographs for your listings.
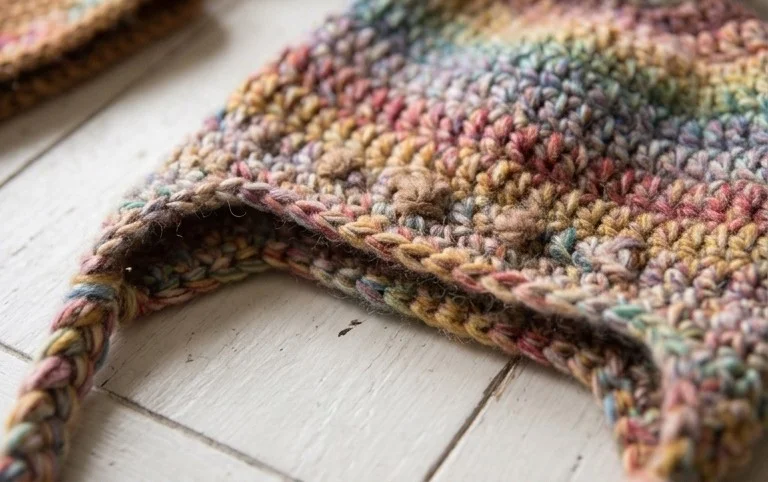
Seeing that tiny hat finished and ready for a trip outside is one of the most rewarding moments for a maker. If you want to experiment, try using a variegated yarn to add a bit of personality or scale the starting chain up to make a matching version for a toddler. Share a photo of your finished work on social media so others can see your color choices. You can find more free patterns for handmade accessories by browsing the other sections of this blog for your next cozy project.